How to Build a Kitchen Island

A kitchen island can add valuable countertop space, storage and seating to what is likely the busiest room in the house. Adding an island to your kitchen requires a little planning, a little measuring and as much imagination as you care to give the project.
This May Also Interest You: How Much Do Kitchen Cabinets Cost?
Below are some ideas on how you might bring this furniture staple into your kitchen.
Plan
Before you get started buying materials for your kitchen island, your first step is to decide what you want to get out of it. The biggest decision here is to figure out if you'll be moving any major functionality — like outlets, a sink or a range top — to the island. If so, you'll likely want to call in a plumber or an electrician to advise you on the feasibility of moving the necessary lines to the center of the kitchen, and — unless you are very adept at home improvement projects — have the professionals at least do the roughing in work for you.
Assuming you're happy with the location of your sink and stove and your kitchen island will be an appliance-free space, you still have a few decisions to make. Are you in need of extra storage? If so, what for? An open island with hooks can be a great place to hang large pots and pans, and rails on the sides can be a good way to store lids. If you need a place to keep cookbooks, boxed-out shelving would be a good way to go. Want a place to get rarely used items off your counter and hidden away? Simple cabinets might make the most sense.
Will it benefit you to be able to move your kitchen counter around or out of the room? In that case, adding wheels to the base will be something to keep in mind.
Another consideration is whether you'd like your kitchen island to provide seating. If so, you'll need to plan for the extra space and additional furniture. Know that your countertop will need an overhang of at least 12 inches.
Speaking of space, a good rule of thumb when planning for a kitchen island is to leave 36 to 42 inches of clearance on all sides of the unit. You'll want to make sure you can walk around it without bumping your legs into obstructions like oven handles or towel holders, and you'll need to ensure that your cabinet, refrigerator and oven doors can all open without banging into the island. A good way to get a sense of how your island will fit into your kitchen is to mark its dimensions on the floor with painter's tape or masking tape.
Build or Buy?
One last thing you should do before you start assembling tools and materials to build your own kitchen island is to have a look at premade islands. These can be found at major online retailers that sell furniture as well as home improvement stores. They range from simple stainless steel work tables to more elaborate wooden models with storage drawers and cabinets. You can purchase one for as little as $100 for a simple model, up to $1,000 or more for a high-quality unit. Many excellent choices can be found in the $300 range, so you'll want to figure out how much your time and materials will cost you in building your own unit and see if you can do better by buying a premade one.
How to Build a DIY Kitchen Island
Making your kitchen island yourself lets you create something that meets your exact specifications and fits with the style of your kitchen. You may want to go it alone for these reasons — or because you simply enjoy the satisfaction of making something yourself. If that's the case, the kind of kitchen island you build will be limited only by your imagination.
Step 1: Choose a Countertop
For an easy kitchen island, you need make nothing more than a simple table. To do so, first choose a countertop material. The type of countertop you choose is nearly limitless. You can use plywood, which can then be tiled over or painted and sealed. You can buy a laminate or stone countertop that can be cut to size. Or, you can go with a stainless-steel, live edge or butcher block counter.
One money-saving tip is to visit your local lumberyard or stone warehouse. Such places will often have affordable leftover pieces you can use as your island's counter. Another way to save some cash — and add a touch of quirky style — is to visit a used home supply store. You could get an old solid-wood door that could be sealed and repurposed as a countertop.
Step 2: Build and Attach the Apron
After you've selected a counter, you can build an apron out of 2x4s. This is simply a box that is about one inch smaller than the perimeter of your countertop. Affix the apron to the underside of the countertop using either construction adhesive, screws or both.
Step 3: Cut and Affix the Legs
Then, determine the height of your island and cut 4x4s to act as the legs. If you want your island to be on wheels, take into account the size of the casters before cutting your 4x4s. Attach the 4x4s to the apron.
Step 4: Finish the Island
Flip over and finish the island in a style that will complement your existing kitchen decor. Shelves can easily be attached between the legs using L-brackets or shelving pegs, hooks can be hung from the underside of the counter for hanging storage and towel bars can be placed at either end of the counter.
More Related Articles:
- How Much Does a Kitchen Remodel Cost?
- How to Install a Kitchen Backsplash in 7 Simple Steps
- How Much Does It Cost to Paint Kitchen Cabinets?
- Kitchen Cabinet Refacing: Pros and Cons
- How Much Are Granite Countertops?
Cabinet Hack
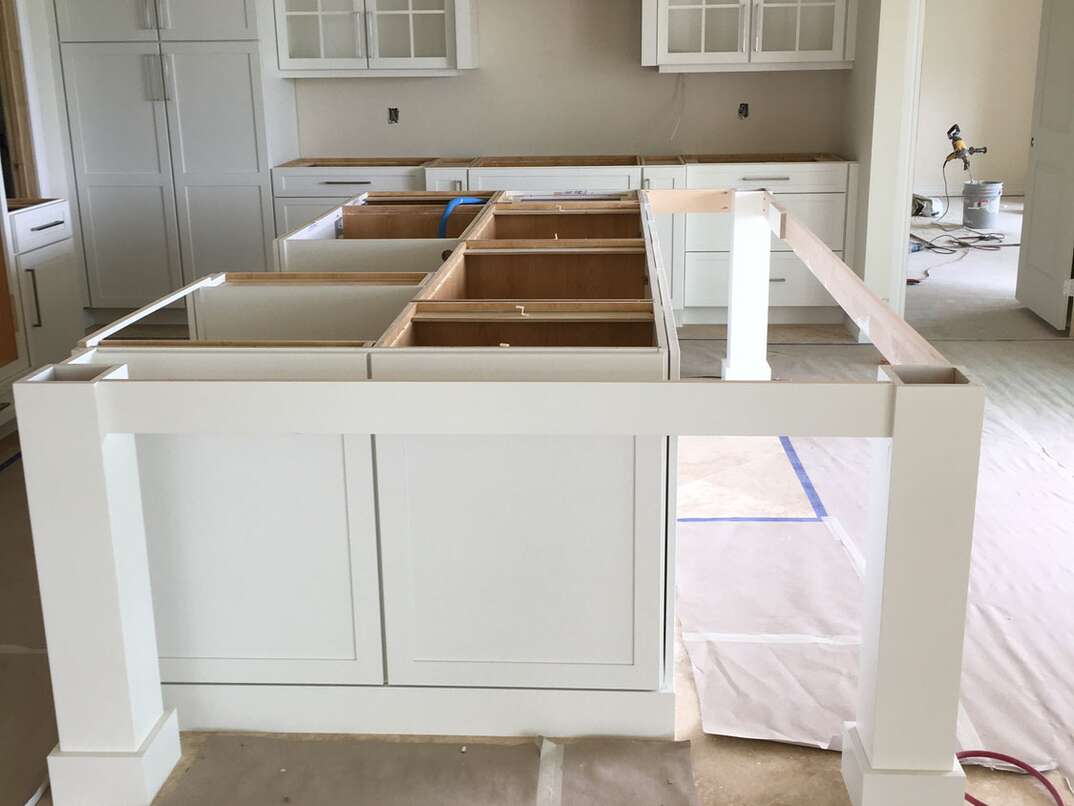
For a more finished-looking kitchen island that's still affordable and easy to build, you could consider purchasing one or more base cabinets from a home improvement store. These are the cabinets you find all around the perimeter of most kitchens and can be bought in a variety of configurations, including those with shallow or deep drawers, doors or open shelving. Keep your kitchen's dimensions in mind and allow the appropriate clearances. Standard cabinets are 24 inches deep and 15 to 36 inches wide, so if you can find a good fit, this can be a great way to easily install your own kitchen island.
Simply buy the cabinet or cabinets that best suit your needs, screw them together using nuts and bolts and attach your countertop with construction adhesive and or L-brackets.
You can also build a simple box as a base for your cabinets using two-by-fours and plywood to raise the island to the desired height. The box or the cabinets themselves could have wheels added to provide mobility.
If the cabinets don't quite match the rest of your kitchen, you can wrap them in plywood and finish them to match — or complement — your existing decor. You could add trim or shiplap over the plywood to create a custom look that fits your kitchen's style. Alternatively, if you still have access to the same countertop supplier from whom you bought your existing kitchen counters, using the same material and hardware as the rest of your kitchen can create a sense of uniformity.


