How to Install or Replace a Doorbell
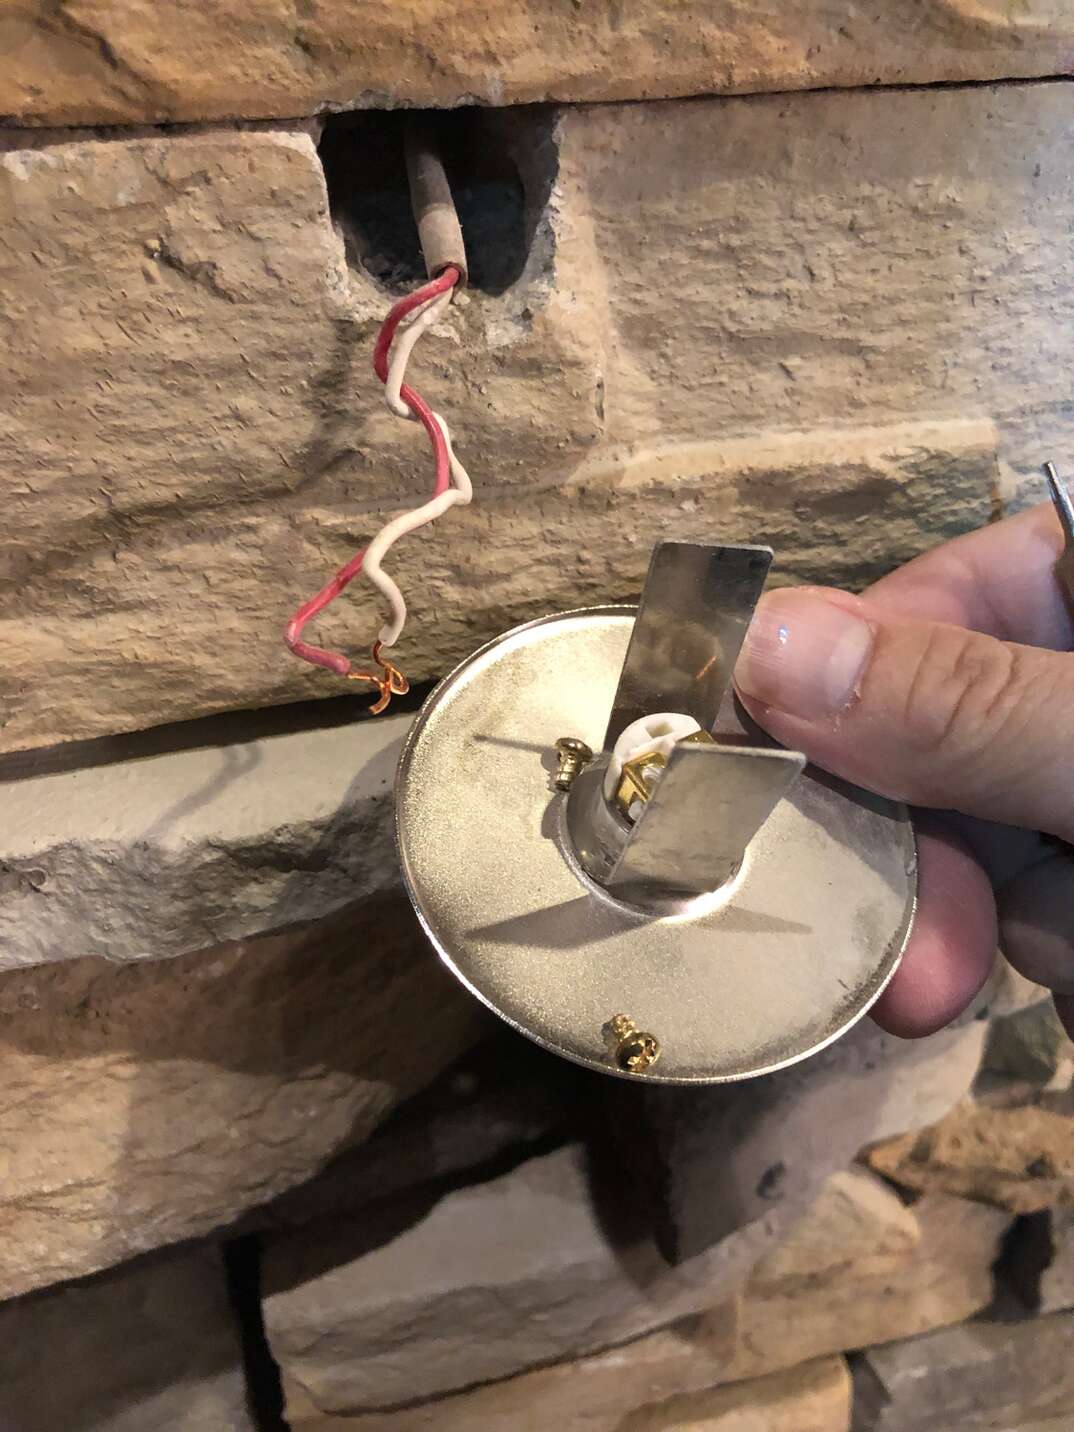
Installing a Doorbell at a Glance
- Step 1: Test circuit
- Step 2: Install chimes
- Step 3: Check chimes cover
- Step 4: Label wires
- Step 5: Install doorbell button
- Step 6: Connect wires to transformer
- Step 7: Restore power to circuit
Installing a doorbell seems like such a minor and insignificant task that you may be ashamed to admit that you don’t know how to do it. Don’t be too hard on yourself; the reality is that most people don’t think about this task until they find themselves scratching their heads in wonder while staring at their broken doorbell.
This May Also Interest You: How to Install a Video Doorbell
So you’ve picked out a new doorbell and want to install it without paying someone to do what might seem like a trivial task. Remember that you’re working with an electrical device that needs to be wired, so you should exercise the appropriate amount of caution. Here’s all you need to know about installing a doorbell on your own.
Selecting Your Doorbell
There are many types of doorbells on the market today, so your installation requirements might vary based on what you select. All your options will fall into two categories: wired and wireless. Here are the benefits of each:
Wireless Doorbells
Wireless doorbells are simple to install. You can play around with different chimes for a personalized setup. These models require batteries to function. This means that you will need to continuously replace or recharge the batteries, and many people find this to be a bit of a hassle. Not all wireless doorbells are weatherproof, either, so if you're concerned about how well your doorbell will hold up in the snow, rain and cold, search for a model that has weatherproofing among its features.
Wired Doorbells
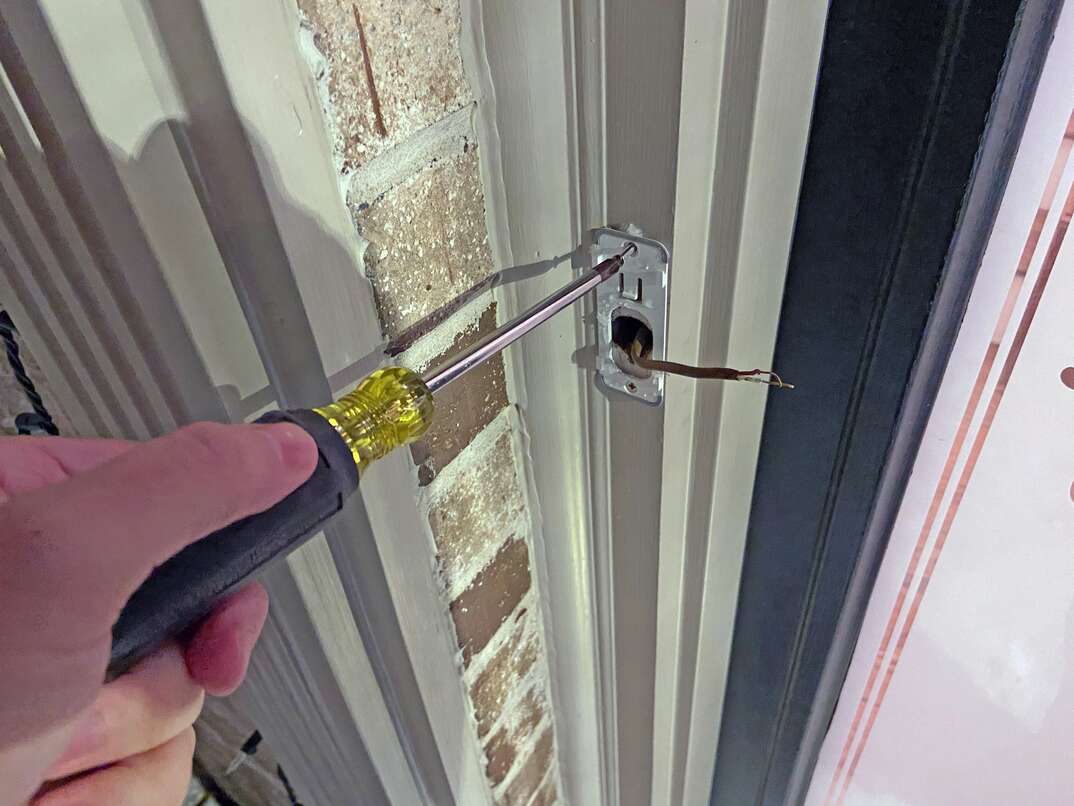
This type is hardwired into your house. There are some features — such as having an illuminated button, a longer range between the doorbell and chime and more ornate designs — that are usually associated with wired doorbells. Wireless doorbells simply don’t come in such a wide variety of decorative designs. Wired and wireless doorbells cost about the same amount, and because your home is probably already wired for a doorbell, installation isn’t much more difficult, either.
Another area of concern you’ll need to consider is interference. Wireless doorbells can malfunction if there is radio or microwave interference, putting them at a slight disadvantage overall. This is why wired doorbells are still the most popular option today.
What About Video Doorbells?
There is a wide range of video doorbells on the market to choose from, and each comes with its own benefits. You may want one that can show you who is at the door when the doorbell is activated so you can decide if it's worth answering. Other options let you use the doorbell as an intercom to communicate with the person who is at your door, and some video doorbells act as components for home security systems by detecting a front door breach or unwanted activity on your property.
Most of these doorbells can be installed easily, just as traditional doorbells. They may require software and an internet connection to operate, however, so prepare for additional steps when installing one. As these doorbells gain popularity, you'll find more vendors offering versions of these products, which can range in price depending on the functions you’d like them to perform.
Do You Need an Electrician to Install a Doorbell?
You certainly don't need an electrician to complete your doorbell installation, and even if you don’t know how to install a doorbell, it's simply a matter of following directions. You'll also save a lot of time handling this project on your own rather than making an appointment to have someone come do it for you.
What you do need to keep in mind is that you're working with electricity, so take every safety precaution possible, including cutting off power to the circuits you'll be working on.
Is It Hard to Replace a Doorbell?
Most homes are already set up with doorbells, meaning you can use the existing wires and circuits. It isn’t very difficult and can even be completed by people who aren’t as handy as seasoned contractors. If you can read an instruction manual, you should be able to install a doorbell.
Video doorbells are a little more complicated because they require hooking the device up to an internet connection and then downloading software to your computer or mobile devices. Most of the information you need to learn how to install and use this software is provided in the manufacturer’s instructions.
More Related Articles:
- How Much Does a Home Security System Cost?
- What Are the Best Home Security Gadgets?
- How to Install a Deadbolt: Get Your Home Security on Lock in 6 Simple Steps
- Protect Your Home With These Security Systems
- How to Recharge a Ring Doorbell
How Do You Wire Up a Doorbell?
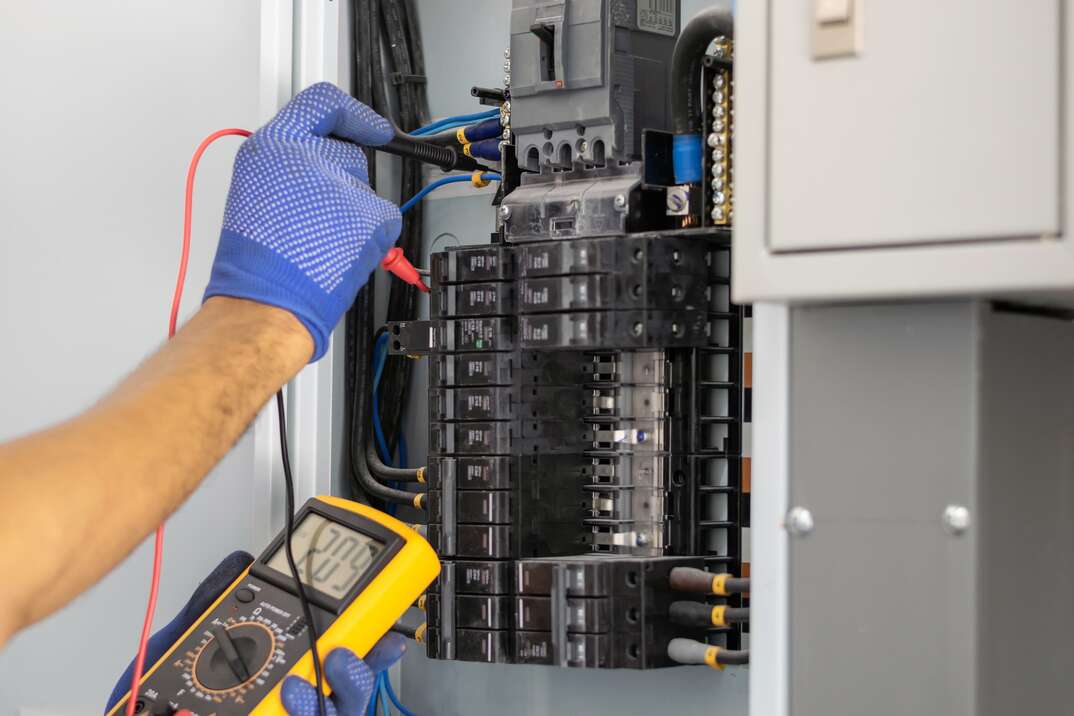
The first step is to cut the power to your doorbell and chime box. Never work with live wires because you can suffer from shocks, electrical burns or life-threatening injuries. Once you've made sure there is no power going to the circuit, you can follow these steps to install a wired doorbell:
Step 1: Test the Circuit
To make sure that the circuit is off, flip the light switches and try to plug devices into nearby wall outlets. This step will verify that you’ve turned the correct breaker off and can proceed safely.
Step 2: Install Your Chimes First
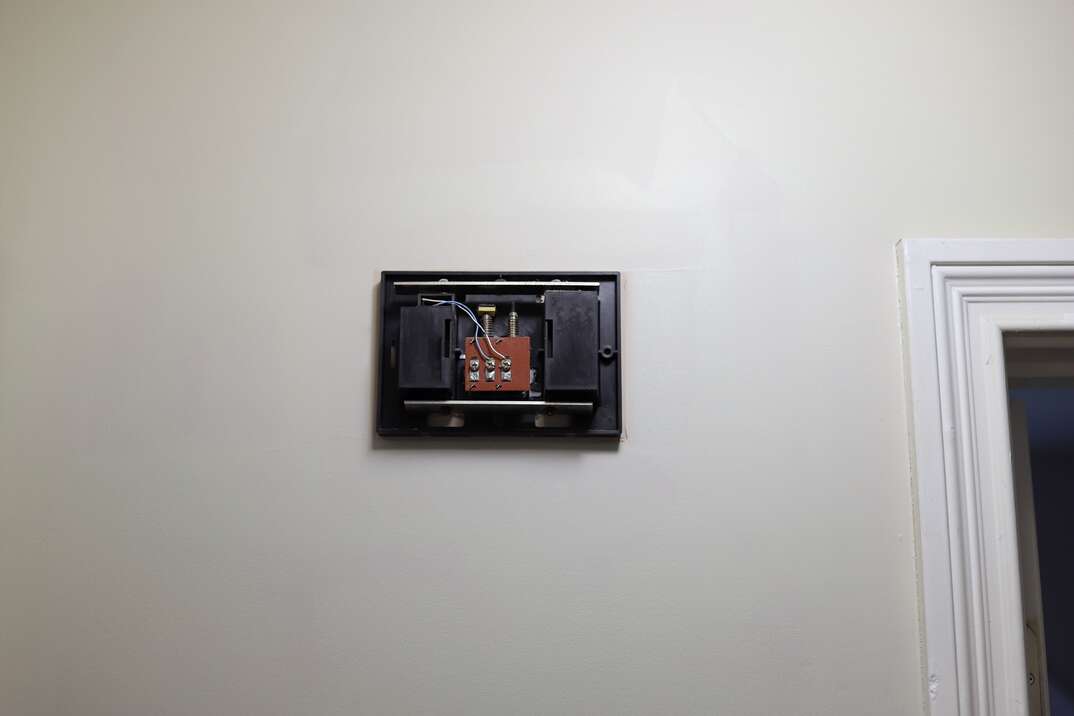
You may already have a chime box you want to continue using. But if you want to install a new one, remove the first one by unscrewing it from the wall. From there, install the new chime according to the instructions included with your doorbell. The manual will have a wiring diagram that makes it easier to determine where each wire needs to reach.
Step 3: Check the Cover of the Chimes
This cover needs to come off easily so you can access it in case you need to repair your doorbell in the future. You also need access to the inside so you can connect the wiring.
Step 4: Label Your Wires
One step that makes future troubleshooting and doorbell installation easier is to put a small piece of tape around each wire that tells you what it is for. If you ever decide to update your doorbell, you can just swap these wires onto new equipment in their designated places.
Step 5: Install the Doorbell Button
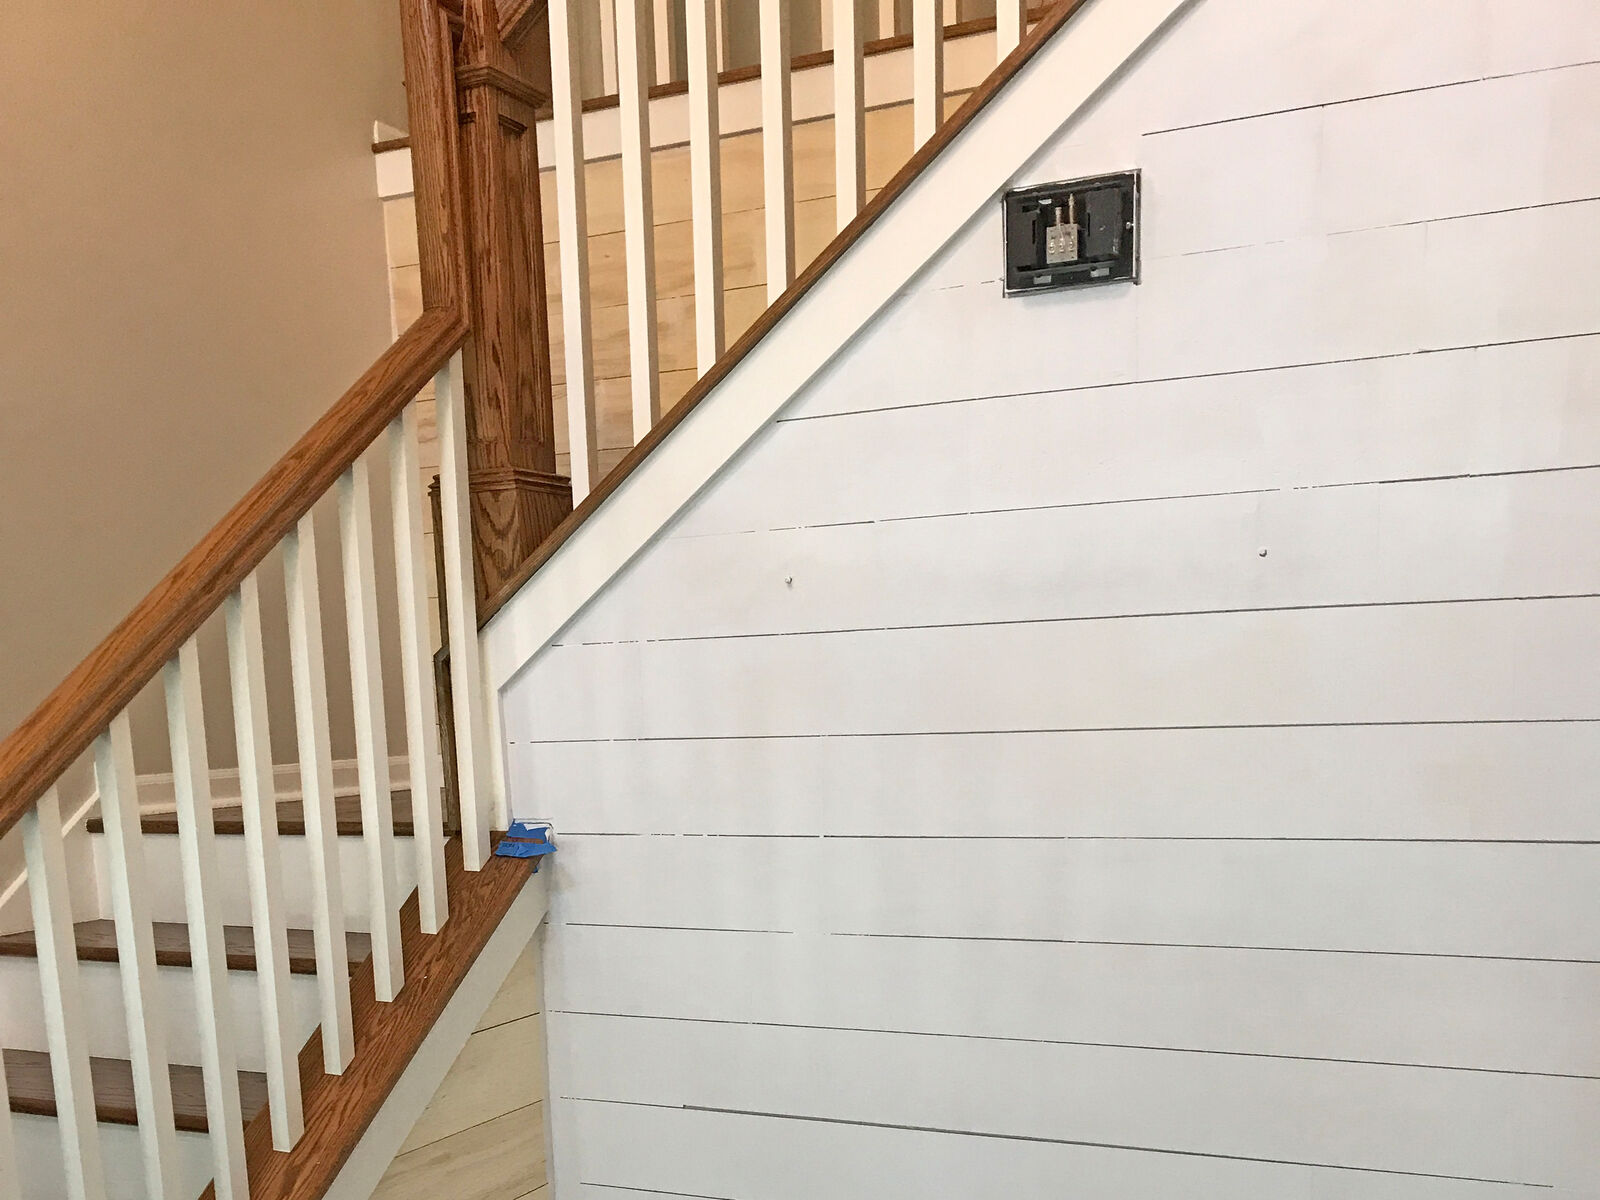
If you’ve already got a doorbell, the most logical place to put it is where the old one was. You may need to drill new holes if you chose a different type of doorbell this time around, but you should install it where it can connect to the existing wires. Once you've connected the wires, screw the backplate into position and attach the front.
Step 6: Connect the Wires to Your Transformer
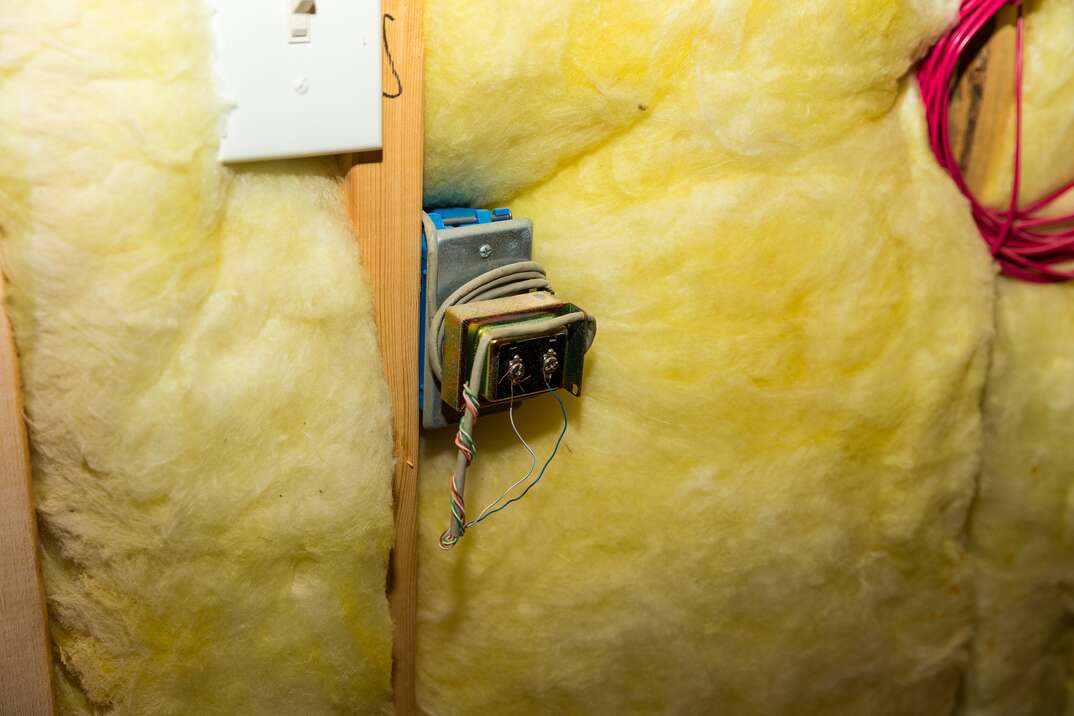
Make certain that the wiring for the chimes and the doorbell is connected to your transformer. The transformer terminals included in the box will lower the voltage delivered to your chimes and doorbell. If you want a simple, foolproof way to ensure the wires stay connected, you can use twist wire connectors. These are plastic caps that hold the wires together so that they won’t pull away from each other.
Step 7: Restore Power to the Circuit
Once you're ready to test your doorbell, turn the breaker back on and press the doorbell button. If it works, you're good to go. In the event that it doesn’t, turn the power off and check all the wires to make sure they're connected properly. Always turn the circuit breaker off when you're checking the wires to avoid injury.
Wireless Doorbell Installation
If you’ve chosen a wireless doorbell, all you need to do is install the chimes and the doorbell in their desired locations, insert the batteries and follow the instructions for making sure they're paired. Because no wires are involved, you don't need to concern yourself with that part of the project. One mistake some people make is not turning off the power when replacing a wired model with a wireless one, so make sure you remember to do this if you’re making the swap.
