How to Build a Fence
Building a Fence at a Glance
- Tools: Tape measure, stakes, twine, level, circular saw, drill, hammer, miter saw, shovel, post-hole digger
- Materials: Prefab fence panels, fence posts, quick-set concrete, gravel, post caps, screws
- Step 1: Plan fence area
- Step 2: Mark fence posts
- Step 3: Dig post holes
- Step 4: Fill holes with gravel
- Step 5: Position posts and set with concrete
- Step 6: Level and let cure
- Step 7: Install fence panels
- Step 8: Stain or paint
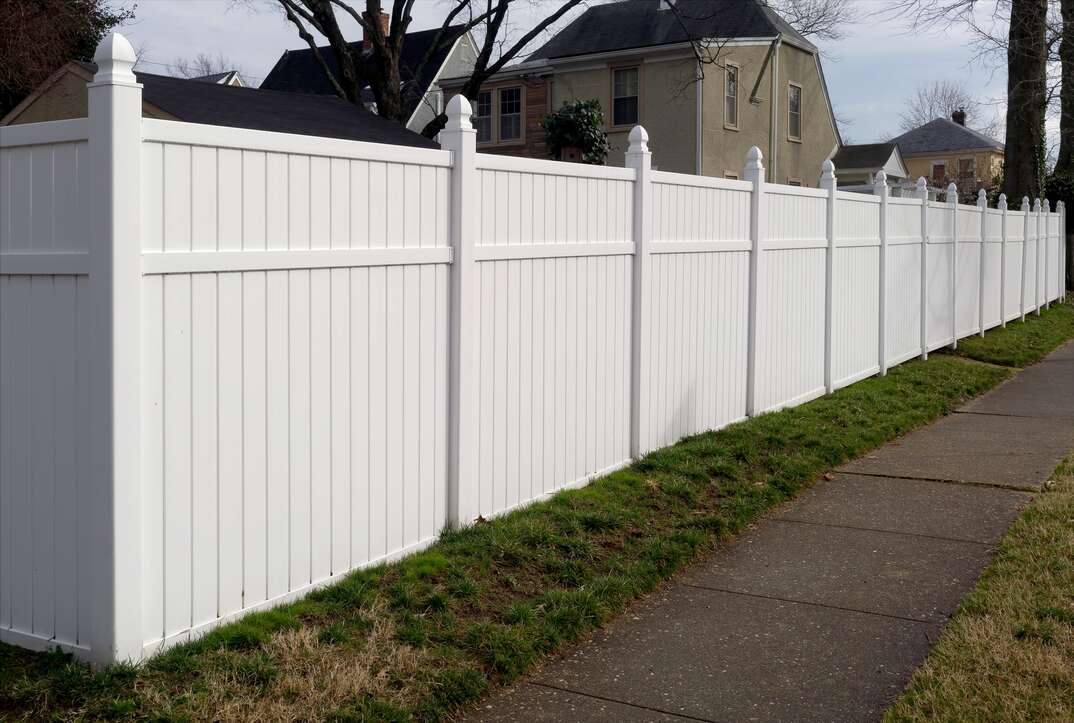
How does that old saying go? Good fences make good neighbors. It’s true; a properly installed fence can separate your property from your neighbors’ while simultaneously blocking the prying eyes of passersby. Your neighbor may appreciate the barrier between yards, too. Plus, fences aren’t all about function. They can also be a beautiful addition to your outdoor space.
This May Also Interest You: How Much Does It Cost to Build a Fence?
Like the idea of privacy but feeling a little on the fence about whether you can pull off a full fence installation yourself? Follow these step-by-step instructions for some DIY guidance.
Advantages of Installing a Fence
Professional fence installation can be costly. DIY fencing is much more affordable, but you may still have to shell out a pretty penny for materials. Consider some of the benefits of building a fence on your property:
Security
Unfenced properties are much more exposed to the outside world than fenced properties. Without a fence, anyone can enter the property — even folks with less-than-admirable intentions. The same is true of animals; fences go a long way toward keeping out the neighborhood strays and keeping in your precious pooches.
Aesthetics
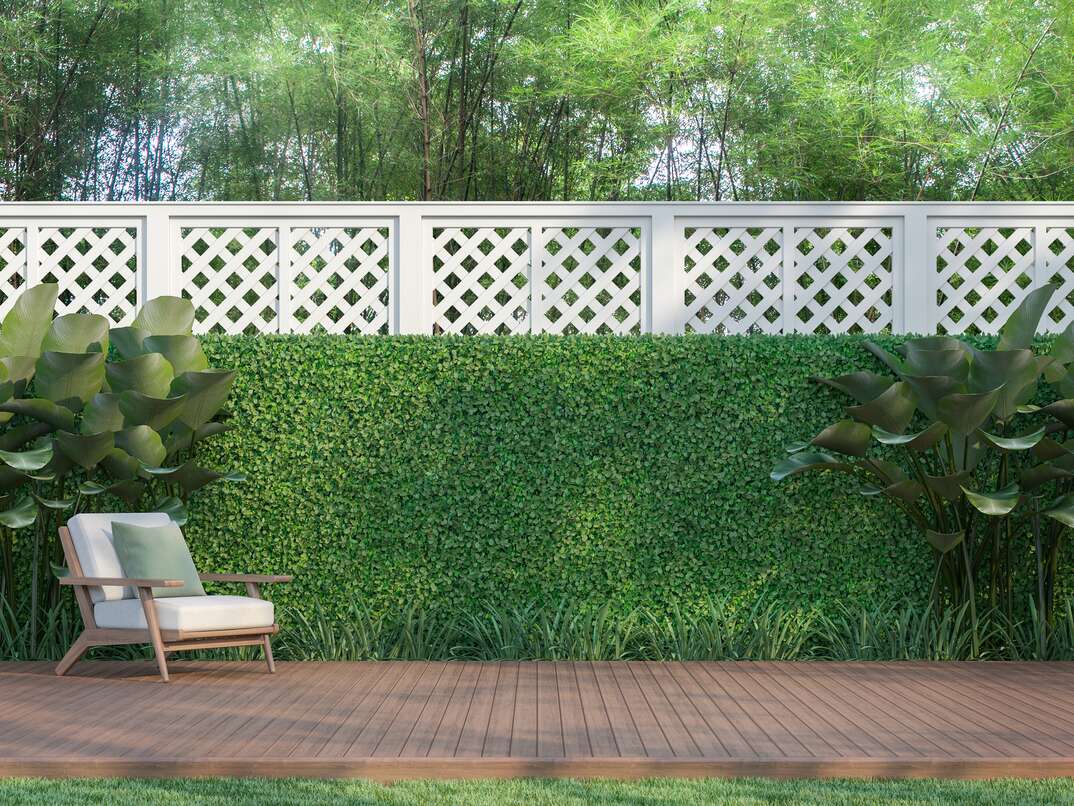
While you don’t have to go with a white picket fence for that picturesque, all-American look, installing a pretty fence adds a big wallop of curb appeal. This can be important for your own personal satisfaction and pride in your home, and it makes a big impression on potential buyers if you place your home on the market.
Increased Property Value
Because fences make properties look nicer and provide greater security, potential homebuyers value fenced properties higher than unfenced ones.
Before You Build Your Fence
Depending on your area, you may need to acquire a fence-building permit before you put up any panels. There may also be stipulations by your homeowners or neighborhood association about how high you can build your fence, how far it must be from the street and so on.
Additionally, it’s best practice to discuss the fence installation with your neighbor(s) because the fence will create a line that divides your property from theirs. In some areas, you may also need your neighbor’s permission to build a fence. For the sake of keeping up your relationship, it's best to let your neighbors air any concerns they have prior to the installation.
And perhaps most importantly: Before you install a fence, contact your utility company and ask them to mark any buried gas or other lines or wires so that you can safely dig holes for setting your fence posts. You can also call 811 or your local before-you-dig number.
Supplies Needed for DIY Fence Installation
This how-to guide discusses erecting a wooden fence using prefab fence panels that typically come in 8-foot by 6-foot sections at most home improvement stores.
Tools needed for DIY fence installation include:
- Tape measure
- Stakes and twine
- Level
- Pencil
- Marking paint
- Circular saw
- Cordless drill
- Speed square
- Hammer
- Miter saw
- Shovel
- Post-hole digger
- Safety goggles, hearing protection and work gloves
To build the fence, you’ll need the following materials:
- Prefab fence panels
- Fence posts
- Quick-set concrete mix
- Gravel
- Caps for fence posts
- Eight exterior-grade screws per fence panel
It’s worth mentioning that you should enlist some help to erect your fence. While it’s certainly possible to do it on your own, things tend to go much more smoothly if you have someone to help you. It’s easiest if someone else can hold your panels in position while you screw them to the posts.
Step-by-Step Instructions
1. The first step in fence installation is determining and measuring where the fence will run. Decide where your fence will be located, and use your hammer to tape wooden stakes into the ground, 8 feet apart. Run twine between stakes, positioning it around 3 inches from the ground. Once you’re satisfied with the placement, spray marking paint directly over the twine, creating a visual layout for the fence panels.
2. Use the marking paint to place an “X” wherever the fence posts will be erected. Place one post for every length of panel you use. They should be spaced every 8 feet unless you purchase panels that are 6 feet long. Keep in mind that the outer dimensions of the panels must hit the center of each fence post.
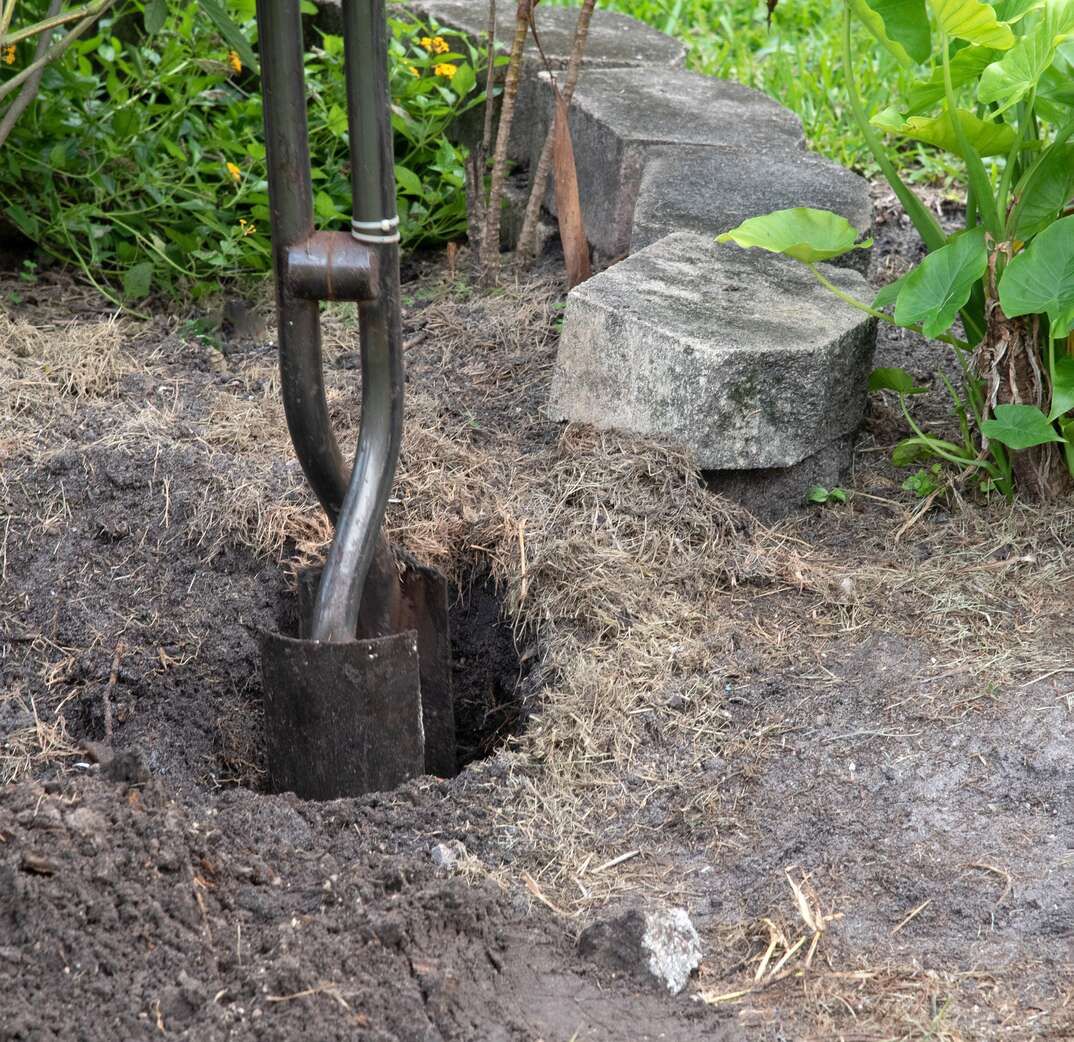
3. Dig holes in the spots you’ve marked using your post-hole digger. The holes should be half the length of the post and around three times its width. With a standard 4-inch by 4-inch post that is 6 feet tall, dig a hole that is roughly a foot wide and 3 feet deep.
4. Add around 6 inches of gravel to each hole. To make sure you have a sufficient amount in each, extend your tape measure into the hole and pour the gravel until it reaches 6 inches on the tape. Tamp down the gravel using one of the fence posts.
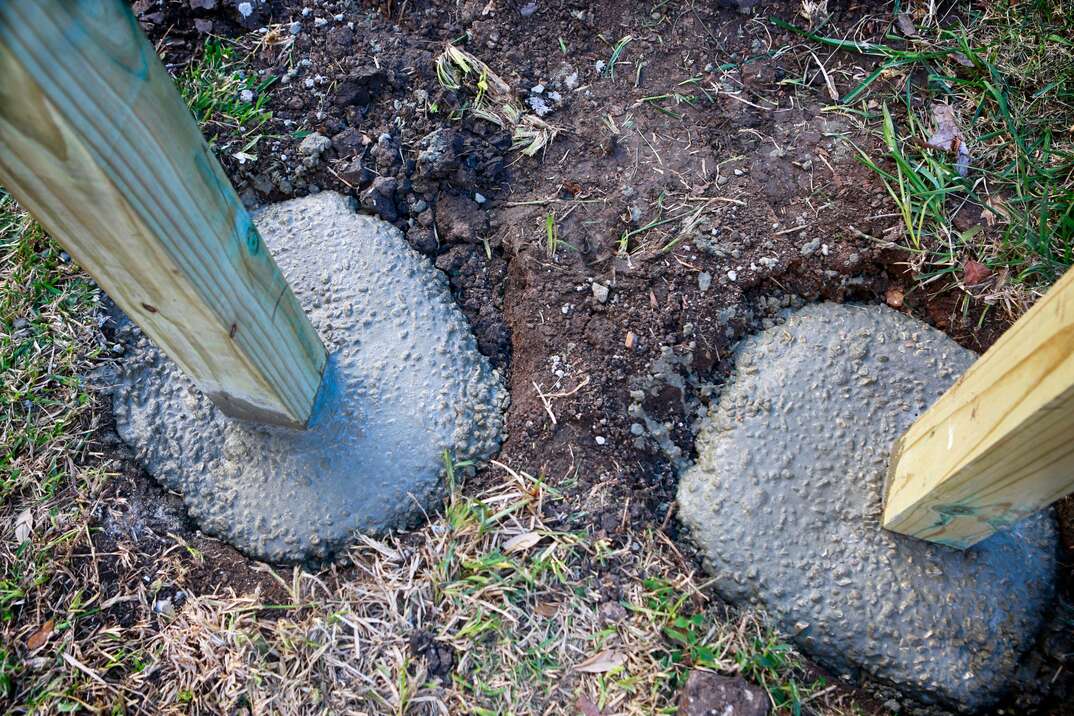
5. Place your fence post in the hole in the position you want to install it. Hold it firmly while someone else fills the area around the post with the quick-set concrete. Add concrete until it is level with the ground.
6. Using a level, check both sides of the post. Make sure the fence post is vertical and at the position you want it. Hold onto the post to support it while your partner adds water to the quick-set concrete according to the package directions. Expect the concrete to cure within 20 minutes or so. Wait a full four hours before moving on to the next step.
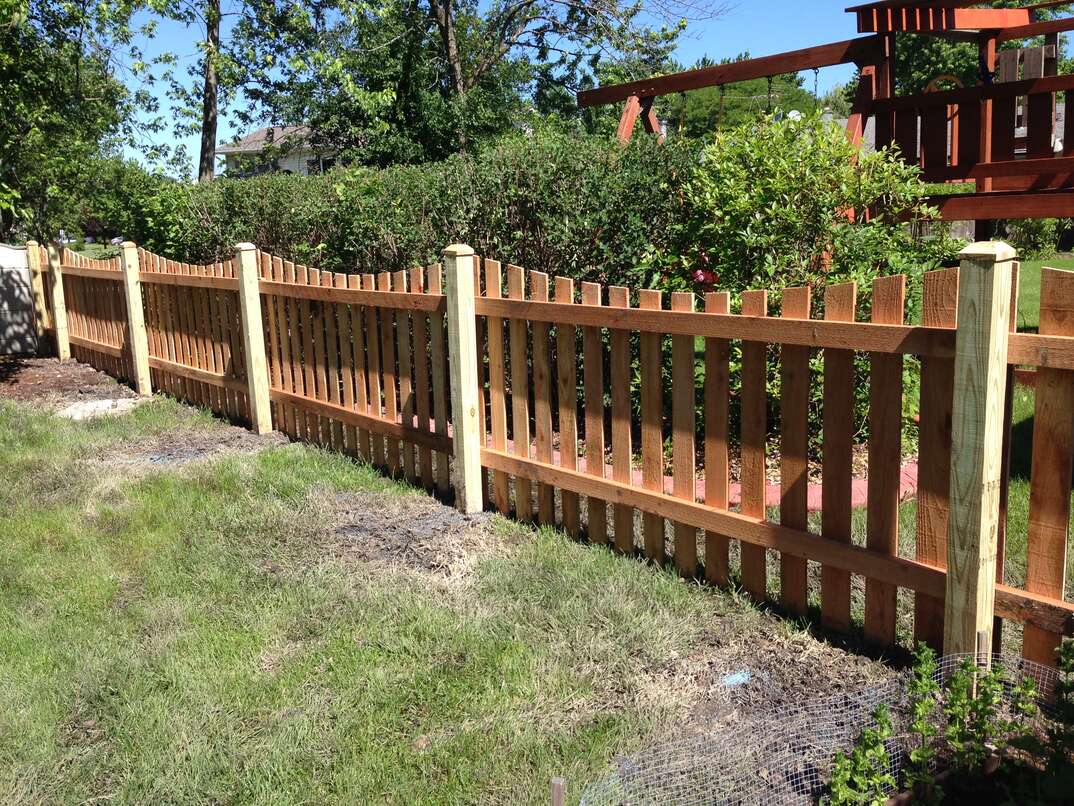
7. With your helper holding one end, place a fence panel between two fence posts with the ends of the panel centered on the post. Ensure the fence panel is completely level. Drive screws through the stringer portion of the panel and its front to attach the fence panel to the 4 x 4 post. Repeat this step for each panel in your fence.
8. When all the panels are up, you’re done! Stain or paint your wood as desired to protect it from the elements and insects. Consider finishing your fence even if you choose cedar or pressure-treated wood. Attach your fence post caps to the top of each post. Typical installation usually involves securing the caps with screws.
More Related Articles:
- Good Fences Make Good Dogs: How to Install an Invisible Electric Pet Fence
- How Much Does an Invisible Electric Pet Fence Cost?
- How Much Does It Cost to Build a Deck?
- How to Stain and Seal Your Deck
- Mow Money: Here’s How Much Lawn Care Services Cost
Fence Installation FAQs
Is It Cheaper to Build Your Own Fence?
All things considered, building your own fence can be cheaper for homeowners who are comfortable with DIY projects. However, once you factor in your time and effort on top of the price tag that comes with supplies and materials, the cost of doing it yourself can really add up.
What’s the Best Material to Use for a Fence?
When it comes to fencing material, Bob Vila recommends cedar for its durability and long-lasting performance. Other top options include redwood and teak wood, composite, vinyl and metal (including wrought iron and chain link options). Masonry fences made from block, brick, stone and concrete are also good choices, but you may find that these options are well out of budget.
What’s the Cheapest Type of Fence to Build?
Although they aren’t as aesthetically pleasing — and they don’t do much in the way of privacy or security — the cheapest fence to install is a wire fence, which starts at $2 per linear foot, according to Fixr.
A wood privacy fence like the one described above ranges from $13 to $25 per linear foot for materials. If you’re leaning towards a vinyl fence, plan to spend up to $30 per foot. The average materials cost for a DIY fence installation ranges from $1,500 to $3,000.
How Hard Is It to Build Your Own Fence?
Those lucky enough to find a buddy or two to assist with the installation process can install a fence over the course of a single weekend. It should be noted, however, that installing a fence is a challenging endeavor that requires precise measurements and the ability to use a level with accuracy. For that reason, DIY fence installation isn’t for everyone.
Notably, there are fence kits on the market that come with instructions on how to build a fence and all the materials and supplies required for the build. These are a good option for DIYers who are fairly confident in their building skills but don’t want to spend time rounding up all the materials.
How Do You Maintain a New Fence?
When you’re performing annual home maintenance, it’s important to give your new fence a quick inspection. Look for damage from insects or storms, chipping paint and missing boards. Depending on whether you opted for stain or paint, you will need to refinish your fence regularly — perhaps every three to five years.
Since we’re all home now more than ever, being prepared for unexpected home repairs with a plan from HomeServe is important. Having a plan in place gives you peace of mind knowing that you can simply call our 24/7 repair hotline for covered breakdowns. See what plans are available in your neighborhood.
