How to Install a Japanese Toilet

Installing a Japanese Toilet at a Glance
- Step 1: Locate power source
- Step 2: Turn off water supply
- Step 3: Connect junction valve
- Step 4: Remove existing seat
- Step 5: Attach washlet to toilet
- Step 6: Connect water supply and power
In Japan, they take cleaning up very seriously. Rooted in the cleansing rituals of the ancient Shinto religion, the Japanese are one of the cleanest cultures in the world. Their children are taught cleanliness in schools, and neighborhoods have regular cleanup schedules. But what really separates the proverbial wheat from the chaff is how the Japanese approach their post-potty cleanup. The Japanese toilet experience is truly unparalleled.
This May Also Interest You: How Much Does It Cost to Install a Japanese Toilet?
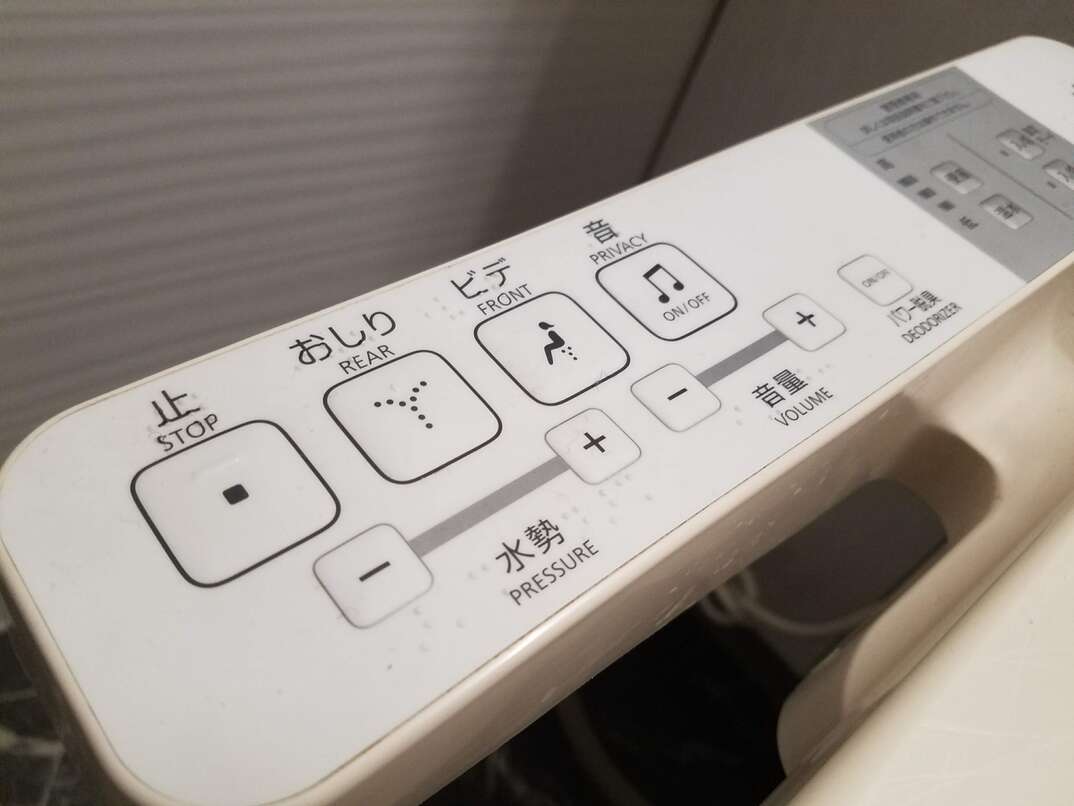
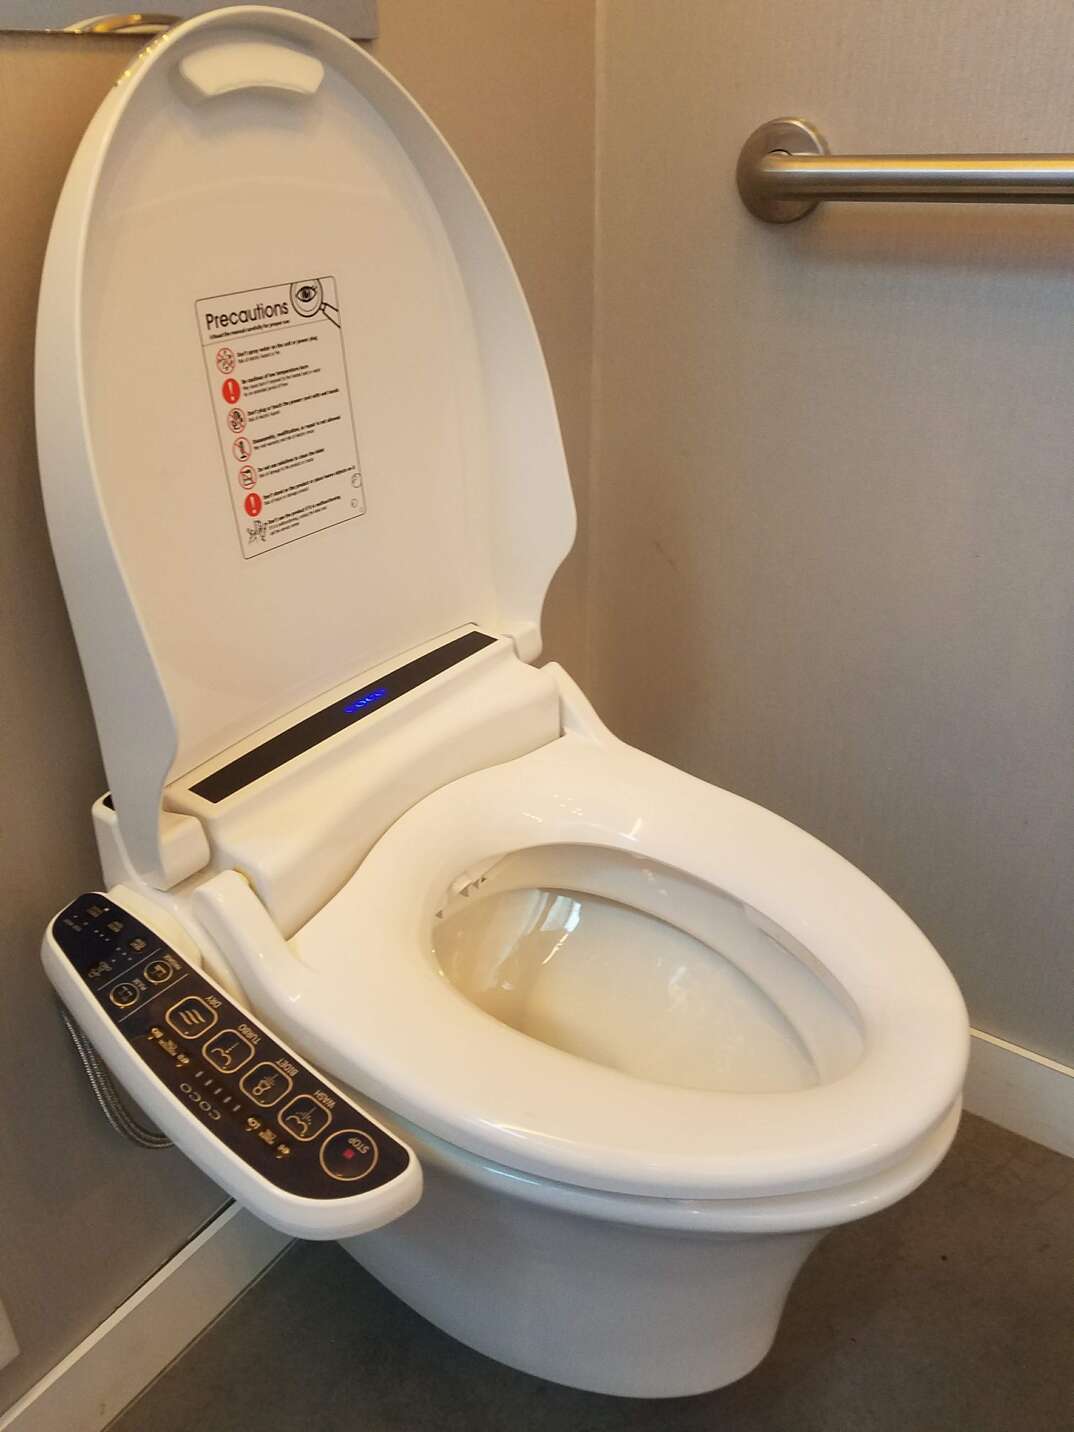
Modern Japanese toilets, also called washlets, include a number of amazing features, like heated seats, automatic opening lids and, most notably, a remarkably efficient bidet that renders toilet paper obsolete. They’re all over the place in Japan, but uncommon in the United States.
Sound intriguing? The good news is that the simple and effective beauty of these booty-washing workhorses can now be enjoyed by anyone, anywhere. By purchasing a Japanese-style seat to add to your current commode, you too can bask in the glory of a paperless potty experience that results in a clean that is unrivaled. The average American toilet just can’t compete.
Step 1: Locate a Power Source
As revolutionary as the Japanese toilet — ahem, washlet — may be, it’s surprisingly easy to install. That said, you need to first make sure you have an electrical outlet nearby. Doing so might be a challenge if you aren’t familiar with electrical work. Here in the United States, where electric toilets are still pretty uncommon, it can be unusual to have an outlet right next to your porcelain throne. So, to avoid having to stretch an extension cord across your bathroom, you’ll probably want to install one close to the toilet.
According to electric code, the outlet you install needs to be connected to a GFCI breaker. A GFCI breaker — or ground-fault circuit interrupter — is designed to shut off quickly in the event of a ground-fault. Ground-faults most commonly occur in areas near water or moisture, so it’s important that any outlets in a bathroom or a kitchen use this type of breaker. The good news is that if you have a GFCI outlet nearby, you can link an additional outlet to it, making the installation quicker and easier. Again: Unless you feel comfortable with electrical work, it’s recommended that you call a licensed electrician and have them install one for you.
Step 2: Turn Off the Water Supply
One of the defining features of a Japanese washlet is its exquisite bidet. Because of this, you’ll need to connect your new toilet seat to the water supply line. To do this, first turn off and disconnect your toilet from the supply line. Locate the valve attached to the pipe behind your toilet; the shutoff valve has a football-shaped knob that’s connected to a pipe or hose that’s attached to the bottom of the toilet tank. The other end of the valve is typically attached to the wall or exits through the floor. To shut off the water, turn the valve to the right (clockwise) until you can’t turn it anymore. When the valve is off, try flushing your toilet once to ensure that it doesn’t refill. You’ll need to then disconnect the pipe that’s attached to your tank. Make sure you have a bucket or a pan nearby to catch excess water that will likely fall when you remove the tubing.
Step 3: Connect the Junction Valve
It’s more than likely that a junction valve will be included with your toilet seat, but if not, you can use a universal T-valve connector. Universal valve connectors are typically ⅞ inches, so purchasing one that size should work. When in doubt, be sure to check the manufacturer's instructions included with your seat. When you have the correct T-valve, simply insert the rubber fittings and washers into the valve and then screw the nut to the bottom of the toilet tank. Make sure the nuts are tight here, but be careful not to overtighten. Overtightening can damage the pre-tapped threading and result in leakage. After attaching the top of the T-valve to the underside of the toilet tank, connect the water supply line to the bottom. Again, make sure the nuts are tight here, but don’t force it.
More Related Articles:
- What’s a Bidet?
- Bid Your Boring Toilet Farewell: How to Install a Bidet
- How Much Will You Pay for a Bidet?
- How to Remove a Toilet Seat
- Taking Out a Toilet? Be Sure to Drain It First
Step 4: Remove the Existing Seat
Before you can get to work installing your new washlet, you need to remove the existing toilet seat. Start by opening the plastic bolt caps at the back of the seat. In most cases, you can accomplish this without the help of a tool, but if you’re having trouble, you might need to use a flat-head screwdriver to pry them open. Once the caps are open, you should be able to see the bolt that connects the seat to the toilet. Use a screwdriver to unfasten the bolt while holding the nut on the underside of the toilet. You can hold the nut with your other hand while you unscrew the bolt; however, if the bolt is rusted or corroded, it might be necessary to hold the nut with a pair of pliers or a wrench. After both bolts have been unscrewed, you’ll be able to lift and remove your old seat.
Step 5: Attach the Washlet to the Toilet
As you prepare to install your new Japanese washlet, start by measuring the distance from the holes to the edge of the toilet. An “elongated” toilet has a measurement of 47 centimeters (18.5 inches) from the holes to the edge of the toilet, while a “rounded” toilet is 42 centimeters (16.5 inches) to the edge. You’ll need to know this so that you can place the mounting holes in the correct place for the base plate.
After the bolts have been correctly placed on the base plate, attach the plate to the toilet by tightening them with the appropriate screwdriver. Note that you may need to adjust your seat later, so there’s no need to tighten it completely at this point.
Once the baseplate has been fastened to the toilet, attach the washlet to the baseplate. While it depends on the specific brand of your Japanese washlet, most brands allow you to slide the washlet over the toilet until it snaps into place on the base plate. Once it’s in place, make sure that the seat is completely aligned with the bowl with no overhang. If everything looks good, remove the washlet and completely tighten the bolts of the baseplate and then slide the washlet back onto the baseplate.
Step 6: Connect the Water Supply and Power
Once the washlet has been secured to the toilet, take the included hose and screw it to the side of the washlet. Then, take the other of the hose and screw it onto the junction valve. Depending on the brand of your Japanese toilet, the attachment style might differ slightly. With Toto Washlets, the hose plugs into the T-valve junction. Once the hose has been connected, turn on your water supply valve and inspect for any leaks.
Most washlets come with a remote control; if this is the case, attach the remote control hanger to the wall first using two screws on opposite ends of the hanger. Before attaching, make sure you find a place where you’ll be able to easily reach the remote while you’re ... otherwise engaged. If you haven’t already, make sure the remote has the proper batteries installed.
Finally, plug the washlet into the electrical outlet near the toilet — and voilà! Your new Japanese toilet seat is ready for use.


