How to Install Kitchen Cabinets

Installing Kitchen Cabinets at a Glance
- Tools & Materials: Power drill, drill bit set, level, stud finder, pencil, tape measure, C-clamps, jigsaw, finish nails, circular saw, belt sander, shims, screws, toggle bolts
- Step 1: Measure and order cabinets
- Step 2: Inspect and assemble cabinets
- Step 3: Create reference mark
- Step 4: Hang corner wall cabinets
- Step 5: Attach remaining wall cabinets
- Step 6: Install base cabinets
- Step 7: Put in drawers and attach doors
- Step 8: Add trim and filler strips
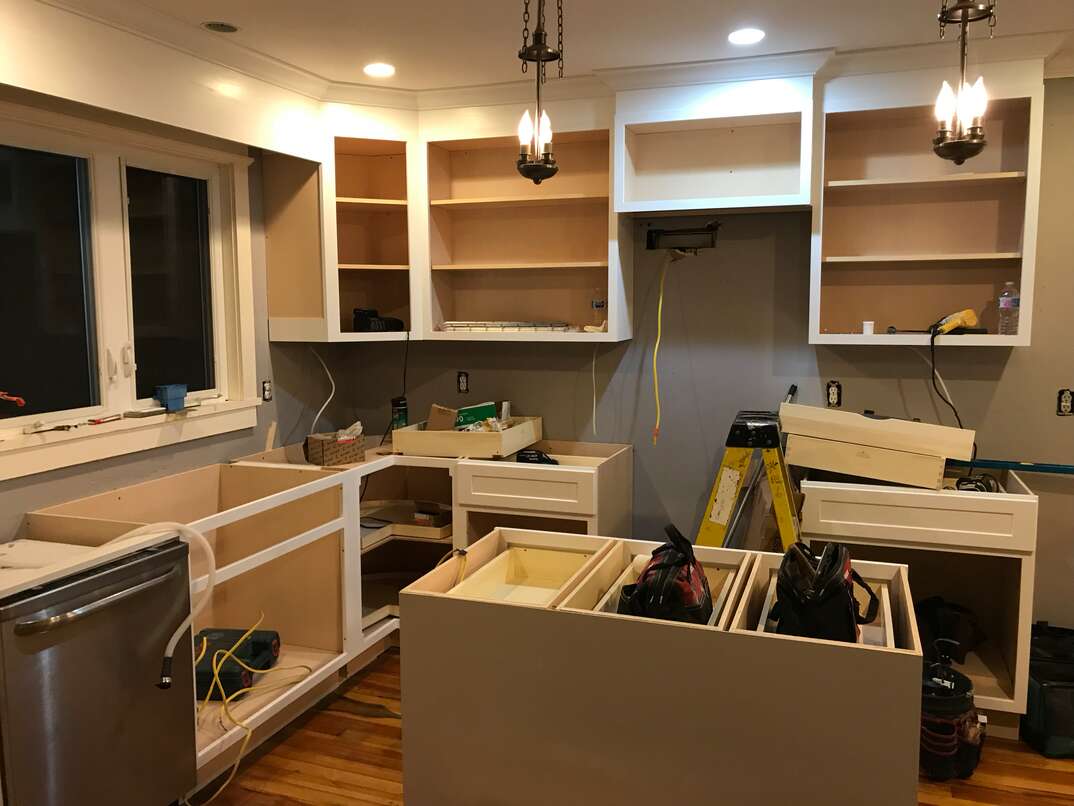
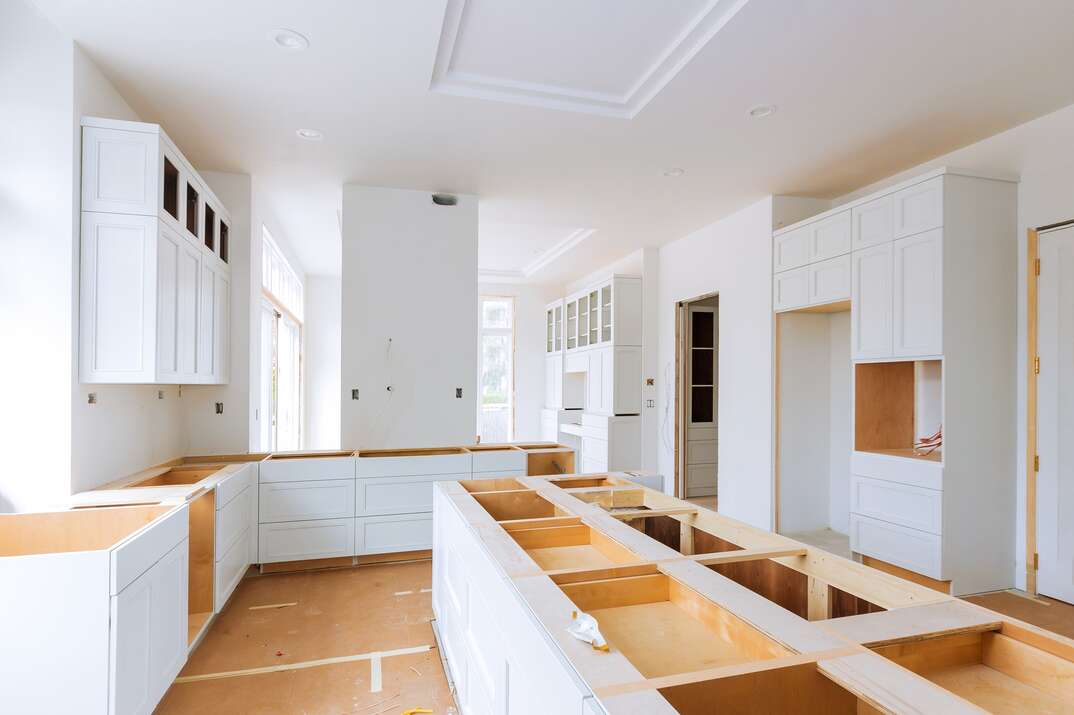
Installing new kitchen cabinets is one of the fastest and easiest ways to switch up the look of your kitchen. If you're looking to save a little money during your kitchen renovation, you can install your cabinets yourself.
This May Also Interest You: How Much Do Kitchen Cabinets Cost?
Cabinet installation can seem intimidating since these fixtures are so large. However, if you can put together furniture or hang a shelf, you can install a kitchen cabinet. All you need to do is get the right tools and follow this step-by-step guide.
Safety Hazards When Installing Kitchen Cabinets
Since you'll be working with power tools for this installation, it's always a good idea to be cautious. Wear work gloves and eye goggles to protect yourself. Read the product manuals for all of your tools carefully, and make sure that you follow the manufacturers' instructions.
Kitchen cabinet installation often involves moving heavy equipment. It can be a good idea to enlist the help of a few friends when you're ready to hang the cabinets. Avoid propping up the cabinet with unsteady objects during the installation. You may also want to consider using moving straps, dollies and other tools meant for lifting heavy items.
One more final tip before we get started on the install: Ensure that your cabinets are properly anchored. If installed improperly, your cabinets may tip or fall. To avoid potential injuries, you need to use the right screws and washers for your cabinet and anchor the back in wall studs.
Cabinet Installation Tools
Before you go any further, you’ve got to gather up your tools and materials. This will make the whole job easier, and it'll ensure that you don't have to quit mid-installation to go get certain items. Grab these at your local hardware store or out of your toolshed:
- Power drill and standard drill bit set
- Special combination drill bit (optional, but helpful)
- Level
- Stud finder
- Pencil
- Tape measure
- C-clamps
- Jigsaw
- Finishing nails
- Circular saw
- Belt sander
- Shims
- 3-inch screws or manufacturer's recommended size
- Toggle bolts (only needed when hanging on drywall)
Step 1: Measure Your Kitchen Carefully Before Ordering
Like many other DIY projects, successfully installing kitchen cabinets starts with planning. If you order the wrong size or shape of cabinets, this straightforward project can turn into a complicated nightmare.
Start by measuring your kitchen carefully. Once you have the general dimensions, plan the cabinet layout. You'll need to consider the cabinet height that you want, how deep you want your countertops to be and whether you are getting base cabinets, wall-hanging cabinets or both.
Then, you'll need to look at your kitchen dimensions and buy the right length and shape of cabinets. This … can be difficult. Even people who are great with geometry might have trouble figuring out the exact sizes they need. It's very common for DIY cabinet installers to work with a professional when ordering their cabinets. This way, you get the proper sizes for every part of your kitchen.
Step 2: Inspect and Assemble Your New Cabinets
It's tempting to jump into the project the second your new cabinets arrive. However, it's always a good idea to go over the products carefully. Manufacturers make mistakes, and you don't want to get halfway through the project and realize that you're missing essential pieces. Go through the cabinet parts one by one, ensuring they're there and weren't damaged during shipping.
This is also a good time to start mentally mapping out where each piece goes. Most cabinets for DIY installs come preassembled. However, if you want to save money and order unassembled cabinets, you'll need to go ahead and put them together now. After inspecting and laying out all your pieces, start the assembly. However, don't attach the doors, hardware or drawer fronts until later.
Step 3: Create a Level Reference Mark for the Kitchen Cabinet Height
The first thing you need to do is find the high point on your floor. This is important because all your cabinets will start from this point. Later on, you can easily shim up cabinets in low spots, but it'll be hard to trim cabinets sitting in high spots.
To find high spots, lay a straight board against the wall and put a level on top. Shim it until it's level, then mark the high end. Do this 24 inches away from the wall, too, so you can see where the cabinets will sit. Pick whatever point is the highest to use as your reference.
From your high point, measure straight up the height of your cabinets. If you’ve got standard cabinets, the base cabinet height will be 34.5 inches from the floor. This might vary if you bought an unusual or custom size. Create a level line along the wall to mark where you want all the tops of your base cabinets to be.
If you're also hanging wall cabinets, measure your desired distance up from the top of the line that you just drew. A distance of 19.5 inches between the base and wall cabinets is standard, but you can vary this if needed. Draw a level line at this distance to mark where the bottom of your wall cabinets will be.
More Related Articles:
- How Much Does It Cost to Paint Kitchen Cabinets?
- Kitchen Cabinet Refacing: Pros and Cons
- How to Clean Kitchen Cabinets
- How Much Does a Kitchen Remodel Cost?
- How Much Does a Kitchen Island Cost?
Step 4: Start Cabinet Installation by Hanging the Corner Cabinet
With all the measuring and prep work out of the way, you can finally start actually installing your cabinets. It's always a good idea to start in a corner and work your way outward. And if you're installing top and bottom cabinets, it'll be easier to do the top cabinets first.
To hang your first cabinet, start by locating the stud in the wall. Then, you can mark the stud locations on the cabinet and partially drill a screw into the correct spot on the installation rail.
Next, lift the cabinet into place, being careful to check that it's level. It's a good idea to get someone else to help you with this since any scratches made by awkwardly hoisting the cabinet up may require you to repaint your cabinets later on. You may need to insert shims to keep the cabinet flat against the wall.
Once everything's level, go ahead and screw your preset screws into the stud. If the cabinet's manufacturer recommends any other hardware, be sure to use that, too.
Step 5: Attach Your Remaining Top Wall-Mounted Kitchen Cabinets
For each additional cabinet, start by identifying the stud location and marking it on the cabinet back if possible. Then, attach the new cabinet to the side of the installed one. Use a few C-clamps to hold the cabinets together. Check to make sure that they are level and completely flush with each other. Then, drill a pilot hole in the face frame, right by the door hinge. Use at least 2.5-inch screws to attach the two face frame sides together.
Once the cabinet is in place, mount the back of the cabinet on the wall. Use your pre-marked locations to ensure that you are screwing it into place on a stud. If only drywall is available, use a toggle bolt for maximum security. However, avoid tightening your mounting screws at first. Continue with the other cabinets in the row, attaching the sides and mounting the back loosely. Once everything is in place, do a final check to ensure that they are level before tightening the backs.
Step 6: Prepare the Base Cabinets and Proceed With Cabinet Installation
Base cabinets are hung up in much the same way as top cabinets. However, there's a little more prep work that you need to do before placing them. Base cabinets often require cutouts for plumbing and electrical work. You'll need to pay close attention to which cabinets are going next to or around the sink, stove, dishwasher or refrigerator. Making these cutouts with a jigsaw before hanging the cabinet will make the process easier.
Once all your cutouts are ready, follow the steps you used to install the top cabinets. You'll just start in a corner, attach the back installation rail to the studs and attach each cabinet to the next one through the face frame. Regularly check to ensure each cabinet is level. Use shims as needed.
Step 7: Install Drawers and Doors
With all the cabinets in place, you can start installing the drawers and doors that you set aside earlier. Just like the cabinets, remember that it can take a little work to get all these parts looking even. However, a little patience is worth it. Taking the time to make things level will ensure professional results.
To adjust drawer fronts, start by loosening the screws on the drawer glides. Adjust the drawer until it's lined up, then tighten the screws while holding the drawer front in place. Likewise, you'll need to adjust the door hinges to hang them evenly. Just lightly loosen the door hinge screws, tweak the adjustment and tighten the screws in position.
Step 8: Complete Cabinet Installation With Trim and Filler Strips
The final step is adding the extra toe kick trim below the base cabinets and the vertical filler strips in any gaps around the sides. This process will require precise measuring since irregular walls and floors can cause slightly angled sides. The best option is often to overcut your trim by around 1/16 of an inch. Then, use a belt sander with a 10-degree bevel to sand the edge to the precise size.
These strips are simple to install once you have the right sizes. You just need to squeeze the strip into the gap and bolt it into place against the cabinet door frame. Just like attaching the cabinets together, you'll drill a 3/16-inch pilot hole and attach it with a cabinet screw. For strips smaller than 3 inches, it's even easier. You can just use wood glue to hold them in place. When installing toe kicks, you will probably need to use a few small nails at the top and bottom of each piece. To hide these nails, sink them into the wood and use wood-colored putty to cover up the holes.


