How to Install Laminate Countertops: A 6-Step Guide

Installing Laminate Countertops at a Glance
- Step 1: Measure space
- Step 2: Remove existing counters
- Step 3: Cut countertop to size
- Step 4: Dry fit counter
- Step 5: Cut holes for sink and range
- Step 6: Secure with adhesive, screws and caulk
Swapping out countertops is a relatively affordable way to give your entire kitchen a fresh new look. While high-end kitchens typically have granite, marble, quartz or Corian counters, laminate countertops are a much more affordable choice. Modern laminate counters come in a range of colors and patterns that can approach the look and feel of natural stone. In many cases, they can actually be more durable thanks to resistance to chipping and staining.
This May Also Interest You: How to Install Granite Countertops
What's more, laminate countertops can be installed by a homeowner with moderate to advanced DIY skills. If that's you, read on to find out how to get the job done.
Step 1: Measure, Then Measure Again
When it comes to counters, the most important part of the process is taking your measurements. Get them wrong, and you could wind up with counters that are too short or that don't match up quite right with your existing kitchen layout. Be sure to take your time at this point in the process.
Measure from each corner where your counters meet to the end of that run of counter. Don't measure from the edge inward because the mitered corners could mess with the figure you arrive at. Measuring an L-shaped counter design is fairly straightforward. If you have a U-shaped kitchen, however, be extra careful to measure each run correctly.
If you are replacing your countertops with an identical layout, they should already have overhangs. If they don't — or if you're putting new laminate counters on new cabinets — make sure to build in an extra 3/4 inch to each section to allow for these. Also, add an extra inch if you have a free-standing range; it'll be trimmed later.
Although most counters are usually a standard 25 inches, you'll also want to measure the depth of your counters to ensure the new ones will match. Add 1/2 inch beyond the fronts of your cabinet drawers to ensure a proper overhang. You'll also want to measure the height of your backsplash — the piece of the counter that goes up onto the wall.
Finally, use a level to check how straight your walls are. If they bow out a little, that's something you can deal with later using a sander on your counter. If the wall is significantly uneven, though, it might be time to call in a professional to ensure the counter's shape fits against the wall.
Mark your measurements down on a schematic, which can be simply a hand-drawn diagram on a piece of paper, then take it to your local countertop or home improvement store.
Precut or DIY?
While you can certainly cut laminate countertops yourself at home, if the store from which you are purchasing your product offers to do it, let them! This will save you from having to worry about cutting your counters straight and dealing with rough edges. If the fee to create a custom-cut countertop is too high, however, read Step 3 to see how to get the size you need.
Step 2: Remove Existing Counters
If you have an existing counter, you'll obviously want to remove it. Do this by first turning off your water, disconnecting the plumbing and unplugging any appliances like a range top or oven. Remove the sink by taking off the brackets that hold it in place beneath the counter. Unscrew the counter from the cabinets from beneath, then pry it up using a pry bar. You may also need to cut along any caulk lines that attach the counter either to the backsplash or the wall, and you'll need to remove the old backsplash as well.
Step 3: Cut to Size
Once you get your counters home, if they have not yet been cut to size, your first step will be to do so. If you have a straight run of counter, this will be simple. If your countertops meet in one or more corners, though, you'll need to miter the edges with 45-degree cuts. While not very complicated, this can be tricky if you're not used to it. Again: Having your counters cut in advance can save you this particular headache.
To cut the counter, place a line of masking tape on the finished side where the cut will go, then flip it over. Drill a small strip of trim using small screws to the underside of the counter to guide your saw, then make your cut. You can either use a very sharp handsaw or a circular saw with a sharp, fine-toothed blade meant for cutting wood. Keeping the countertop flipped over, run your saw down using the strip as your guide. Then, remove the guide strip and any leftover tape. Next, smooth the edges with a 10-inch mill file, being sure that you always work in a downward direction, away from the finished edge.
Step 4: Dry Fit
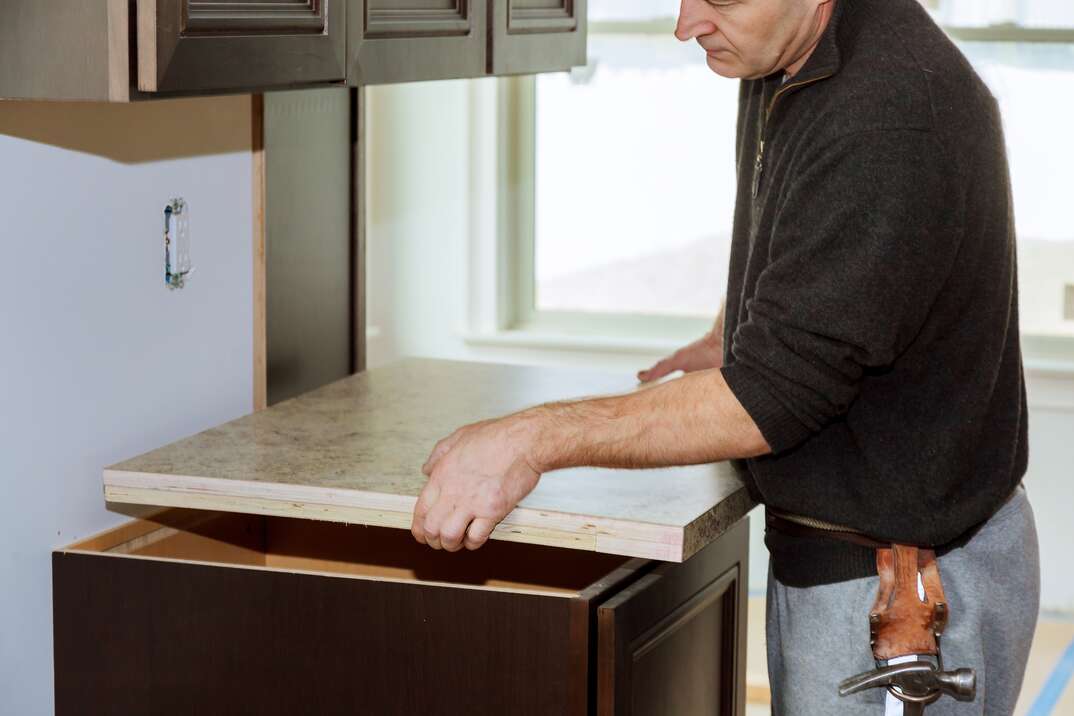
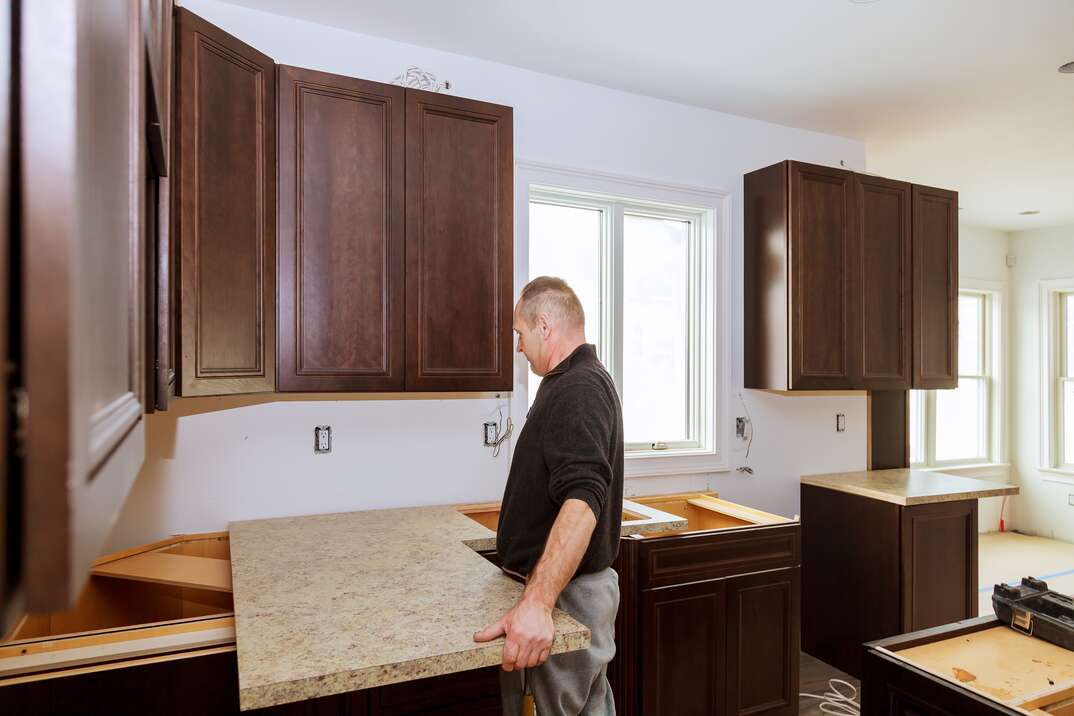
Once the counters are cut, dry fit them on top of your cabinets to make sure they fit well. Test that your mitered corners match up, and be sure the overhang on all sides is where you want it.
Make sure the counter fits snugly against the wall. If it doesn't, run a piece of masking tape along the top, then use a compass with the pointer against the wall and the pencil on the tape to trace the line of the wall on the tape. Then, use a belt sander with an 80-grit belt to make notches to match any bulges in your wall or to clean up a corner that's not fitting quite right. Don't worry if the counter has small gaps against the wall or even in the mitered joint; you can fill these spaces with caulk.
If you're finding that your counter hangs too low to the point where you can't open your drawer, then you'll need what's known as a build-up kit. These kits contain small pieces of wood that screw into your base cabinets and raise the counter to the correct height. If they were used, you might have noticed them when you removed your old counter. Simply hammer the build-up strips into the underside of the counter using nails that are long enough to hold them, but short enough not to come through the top of the counter. You can place these strips about 2 inches apart, starting about 2 inches in from the front of the counter.
More Related Articles:
- How Much Does It Cost to Repair, Resurface or Refinish Countertops?
- Catch a Bad Break? Fix Chips in Your Granite Countertops in 6 Simple Steps
- Everything ‘Bout the Kitchen Sink: A 5-Step Installation Guide
- How Much Do Marble Countertops Cost to Buy and Install?
- How Much Do Quartz Countertops Cost?
Step 5: Sink It
Once the dry fit looks good, it's time to cut the hole for your sink or range top. If either of those came with a template that you still have, use it to trace the shape on the top of the counter. If you don’t have a template, flip the fixture or appliance over and trace around the edge. Then, place a strip of masking tape as a guide that's 1/4 to 1/2 inch inside the line you traced. Drill holes at the corner of the rectangle you traced and use either a jigsaw or a compass saw to cut out the shape. Insert the sink or range top and fasten any clips or attachments below. Then, caulk around the edges.
Remember that extra inch you added for your free-standing range? Now's the time to trim your counters so they butt right up against it.
Step 6: Stick It
Finally, it's time to put your countertop in for good. If you want, you can run a bead of construction adhesive along your cabinet tops. However, be aware that this will make your counter installation a bit more permanent. If you decide to change them out in a few years, you might damage your cabinets when removing them.
Either way, you'll definitely want to run a line of the recommended adhesive along the mitered edge before putting your countertops back on the cabinets. Then, put them in place.
Your counter will likely have come with miter bolts or at least miter-bolt holes in the corners — another good reason to buy precut pieces. If so, tighten these bolts down. Then use a towel or a scrap piece of wood to tap the mitered corners down so they are even. If not, shim as needed. Then, tighten the bolts fully and wipe away any excess glue that squirts out the top.
Next, use #8 screws to drill through the brackets in your cabinets into the underside of the counter. For added security, you can also use a few L-brackets that can attach to the underside of the counter and either the wall, the cabinet or the build-up strips.
If the ends of your counters have any exposed raw wood, they should have come with end-cap pieces. Simply place these against the wood edge, then iron them down to melt the adhesive.
Finally, caulk along the backsplash where it meets the wall, give it the recommended time to dry and then invite some friends over to take in the splendor of your brand-new-looking kitchen!


