How to Install Wainscoting
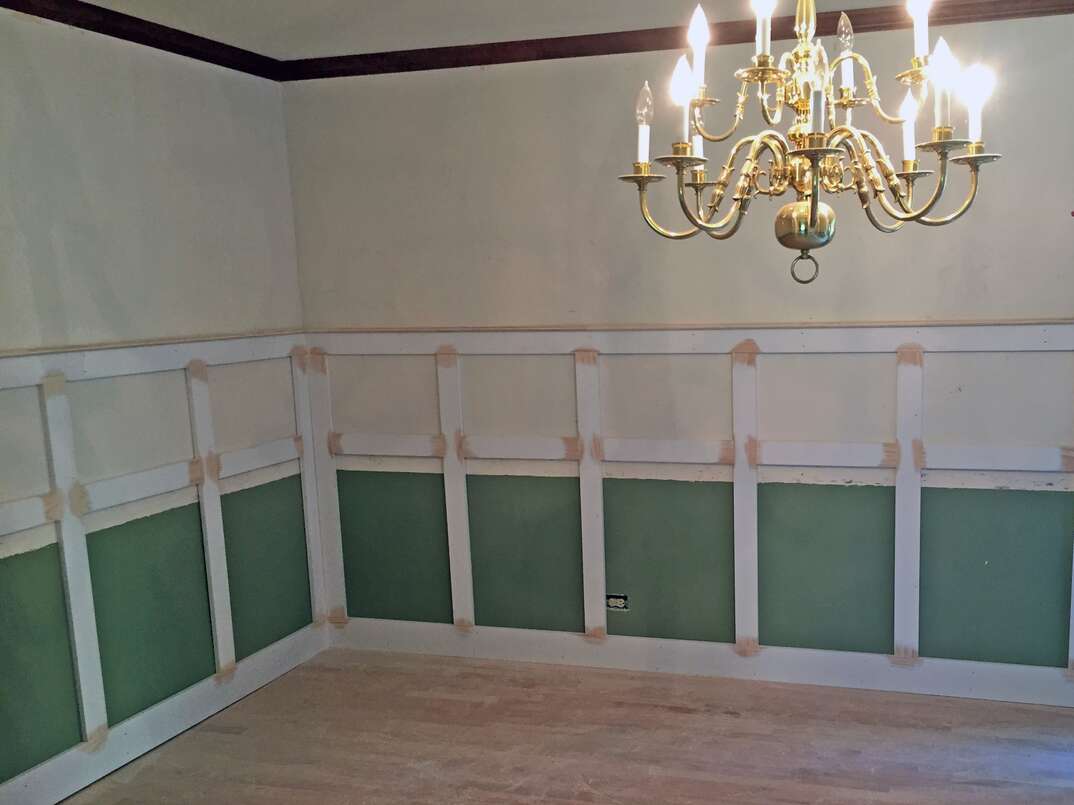
Installing Wainscoting at a Glance
- Tools and materials: Tape measure, pencil, laser level, clamps, circular/miter saw, jigsaw, sandpaper, nail gun, caulk, wainscoting, molding, adhesive, nails, paint
- Step 1: Measure walls
- Step 2: Acclimate materials
- Step 3: Remove baseboards
- Step 4: Mark the walls
- Step 5: Cut spaces for outlets
- Step 6: Install baseboards
- Step 7: Attach panels
- Step 8: Install trim
- Step 9: Caulk, sand and paint
Installing wainscoting is a great way to add some old-world charm and depth to practically any room in your home. You can also use wainscoting to create a feature wall or style it for a more contemporary look. Whether you install wainscoting in the kitchen, living room or hallway, it’ll add value to plain old drywall and make any area of your home pop.
This May Also Interest You: What Is Wainscoting?
Looking to DIY? Wainscoting’s fancy look is not so difficult to achieve. You can find all the materials you’ll need at your local home improvement store. If you can operate a circular saw and a nail gun, you can install wainscoting on your own. Here’s how.
All About Wainscoting
Wainscoting is made up of versatile panels and moldings that are typically used as a decorative feature on walls. In 16th century England, wainscoting was used to insulate rooms, protect walls and cover up unsightly dampness on the lower portion of walls. Although traditionally made of wood, wainscoting is now available in a range of materials, including vinyl, plastic, embossed metal and medium-density fiberboard (MDF). Styles of wainscoting include:
- Raised-panel
- Flat-panel
- Overlay
- Board-and-batten
- Beadboard
- Shiplap
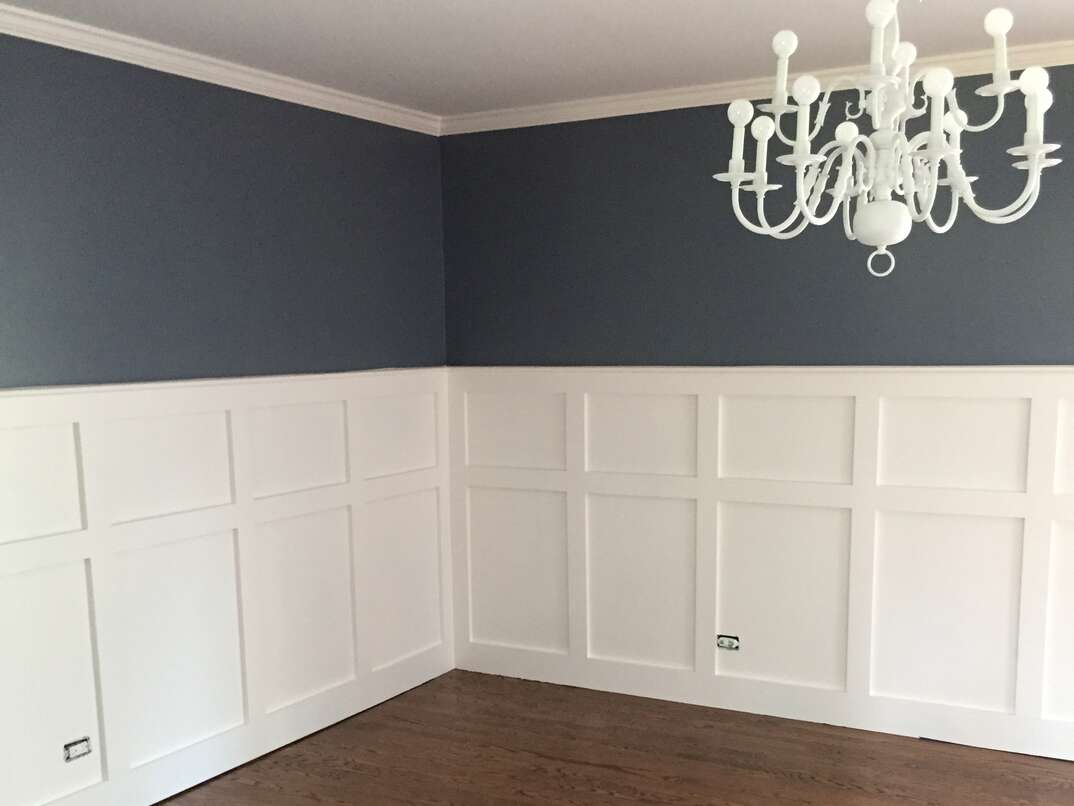
What Does Wainscoting Look Like?
Wainscoting molding often comes up to chair-rail height, but it can also be used to cover a wall completely. In most traditional applications, it looks like square sections of molding on the lower portion of walls. It’s available in almost any style you can imagine, and it’s great for safeguarding walls that tend to take a beating, like those in mudrooms, hallways, bathrooms and kitchens. One of the most popular types of wainscoting these days is shiplap, which is composed of boards with grooves cut into the edges for a tight, overlapping fit.
Tools and Materials
- Tape measure
- Pencil
- Laser level
- Clamps
- Circular or miter saw
- Jigsaw
- Sandpaper
- Nail gun
- Caulk and caulking gun
- Wainscoting panels
- Molding
- Construction adhesive
- Nails
- Paint
Safety first: You’ll also want to put on your safety glasses, especially while you’re using power tools and saws.
Part 1: Prepare to Install Wainscoting
Proper preparation makes home improvement projects run much more smoothly, and installing wainscoting is no exception. The tools and materials you’ll need may vary from the above list depending on the type of wainscoting you choose, whether you’re working with drywall or plaster or if you intend to install wainscoting on a ceiling.
1. Measure the Walls
Before you do anything — including purchase materials — it’s critical to take precise measurements of the walls. Use a tape measure to measure the length of the walls in the room where you want to install wainscoting.
The most common heights of wainscoting are 32-inch and 36-inch, according to SFGate. Once you determine the linear footage of the room by measuring the lengths of the walls, multiply that total value by 2.66 for 32-inch wainscoting. Multiply by 3 if you plan to use 36-inch wainscoting. This calculation will tell you how many square feet of wainscoting, trim, and baseboard you’ll need.
To avoid wasting materials and money, you’ll want to apply that old adage: “Measure twice, cut once.” Creating a diagram with detailed dimensions you can refer to during the project can be a huge help.
2. Acclimate the Wainscoting
After you purchase your wainscoting material, it’s important to let it acclimate to the humidity and temperature in the room, especially if it’s made of wood. In most cases, you should let it sit in the room for 24 to 48 hours to avoid any problems with the expansion and contraction of the wood.
3. Remove Baseboards
If there are baseboards in the room where you’re installing wainscoting, you’ll have to remove them. Use a pry bar to take off baseboards, taking care not to put any holes in the wall. Don’t sweat it if you do; fixing holes in drywall is a fairly simple process, and the patch will be covered up by your wainscoting. You should also remove outlet covers and wall plates.
4. Mark the Wall
To guide your wainscoting installation, put a line on the wall where you expect the top of the wainscoting to hit. Whether you’re using 32-inch or 36-inch wainscoting, mark your line ½ an inch above to compensate for any unevenness in the floor. Use your laser level, pencil and a straight edge to make a straight line across the surface of the drywall or plaster. If you have a stud finder, use it to locate wall studs and lightly mark them just above the line. This will help when you’re nailing the wainscoting panels in place.
More Related Articles:
- How Much Does Drywall Cost?
- How Much Do Professional Painters Charge?
- Ensure Your Shiplap Walls Are Shipshape With This Step-by-Step Installation Guide
- How to Finish Drywall: Taping, Mudding and Sanding
- How to Fix Nail Holes in Walls: A 7-Step Guide
Part 2: Installing Wainscoting
5. Cut Out Spaces for Outlets and Light Switches
Using a jigsaw, cut out areas where outlets and light switches will be. Use your pencil to outline switch plates and covers, and then clamp them to the panel. Push the blade of the jigsaw into the board, cutting as you follow the outline.
6. Install Baseboards
If your design includes baseboards, install them before placing the wainscoting panels. Apply adhesive to baseboard pieces in a zigzag pattern and press them firmly into place. The ends of corner pieces should be cut at a 45-degree angle so they fit together once installed. Then, nail the baseboards according to manufacturer instructions.
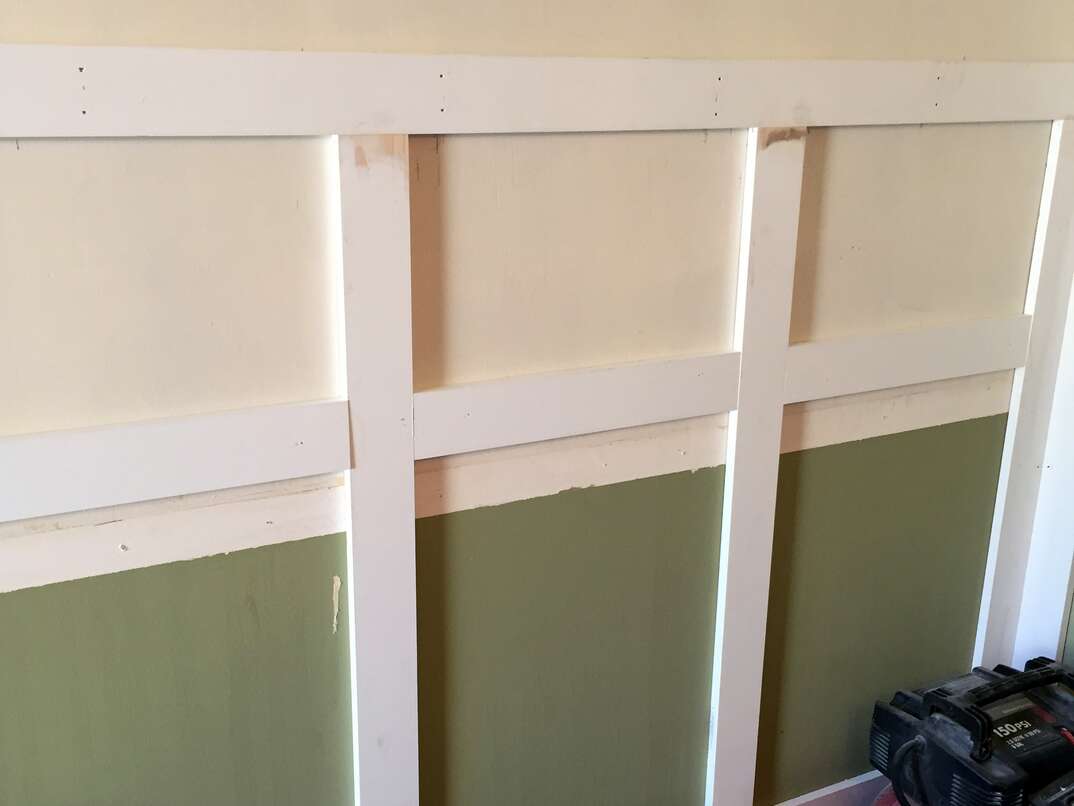
7. Attach Panels
Apply construction adhesive to the back of one panel. Starting in a corner, set it in place 1/16 of an inch from the adjacent wall and level with the pencil line on the wall. Continue with additional panels, working from left to right. If the wainscoting you chose has a tongue and groove system, make sure to fit them together when you place the panels next to each other.
You will most likely have to cut a few panels to get the right fit on each wall. Measure the space from the last panel you placed to the corner of the wall, and then mark it on the back of the next panel. Lay the panel face down, clamp it to your surface and use a circular saw to cut it. A jigsaw will work for this, too, if you don’t have a circular saw.
After the panels are attached, nail them to the wall. Where you place the nails will depend on the type of wainscoting and manufacturer recommendations, but make sure to get some nails in the wall studs so the panels are nice and secure.
8. Install Trim
If your design includes trim like a chair rail, attach it to the wall at the top of the wainscoting. Secure it in place using the same method you used to install the baseboards.
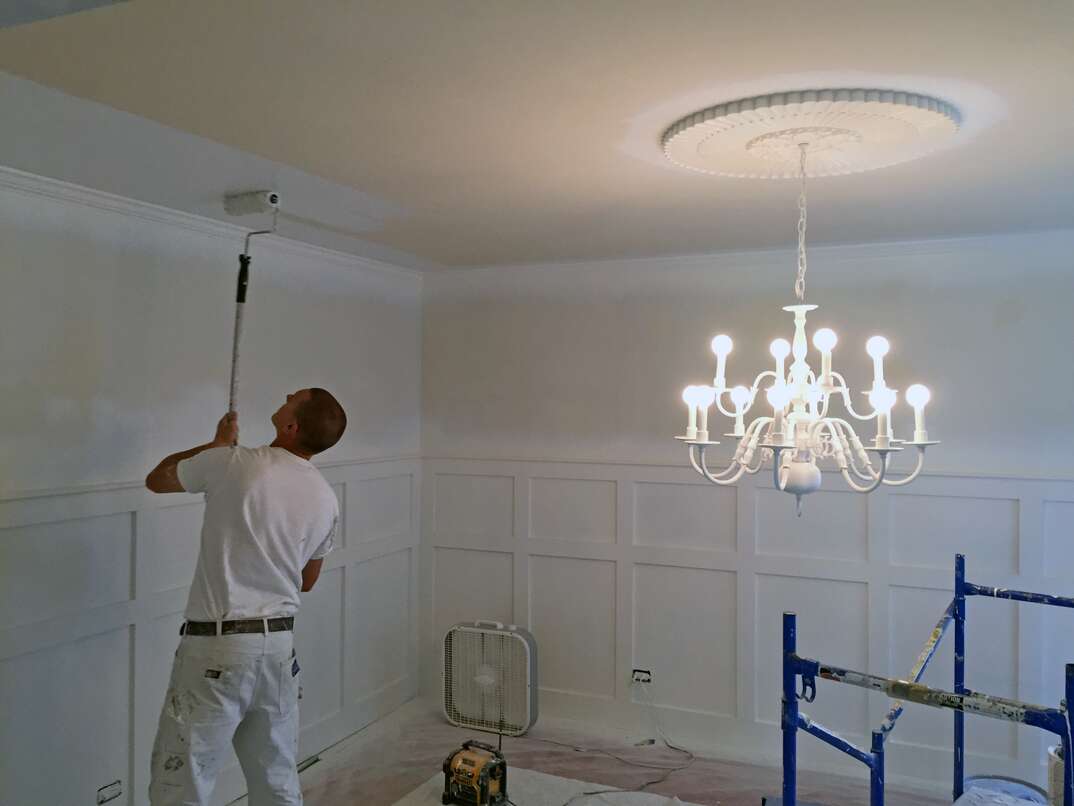
9. Caulk, Sand and Paint
Now that you’ve spent all that time installing your wainscoting, you'll want to finish the job and make it look as attractive as possible. Fill in any gaps and seams with caulking and prepare wood for painting or staining. If you’re putting wainscoting in the bathroom, make sure to use moisture-resistant paint.
Since we’re all home now more than ever, being prepared for unexpected home repairs with a plan from HomeServe is important. Having a plan in place gives you peace of mind knowing that you can simply call our 24/7 repair hotline for covered breakdowns. See what plans are available in your neighborhood.
