How to paint kitchen cabinets

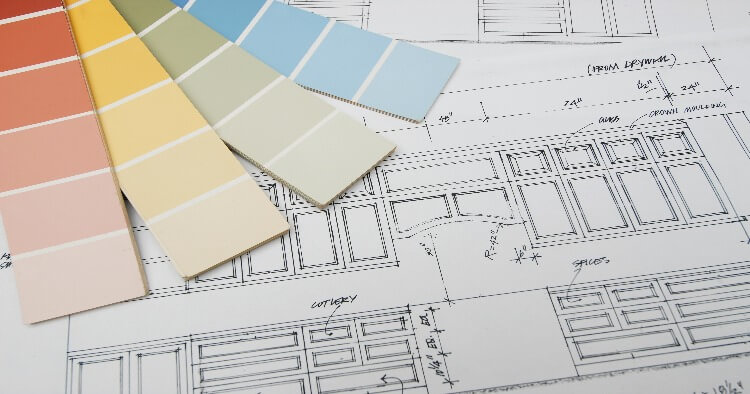
I wanted a kitchen straight out of Chip and Joanna Gaines' "Fixer Upper" - but I didn't quite have the budget to do it all at once. I decided to take it in baby steps, tackling the cabinets first. And let me tell you: A fresh coat of paint on the kitchen cabinets is one of the most dramatic home improvements you can make without breaking the bank.
Ready to give your cabinets an upgrade? Here's how to paint them:
The tools
You'll need screwdrivers, painter's tape, sandpaper, vacuum, tack cloth and primer to prep your cabinets for painting. A two-inch tapered paintbrush should get the job done, but a mini roller will come in handy for larger surface areas.
Moving on to the star of the show: the paint. Be careful to choose one that's appropriate for your cabinet material, whether it's solid wood, laminate or metal. However, Lowe's noted that you should always use acrylic rather than vinyl paint. If you want a shiny finish, go for semi-gloss or satin, as too much sheen can highlight dings and imperfections in the cabinets.
The prep
Before you start the project, make sure you have the time to complete it. It will take a few days, so plan around a long weekend if you can. Safety wise, be mindful of working in a well-ventilated space.
When you're ready to get started, follow these steps to prepare your cabinets for a smooth finish:
Learn More About Home Repair Plans Near You
1. Remove the doors and drawers
Use a screwdriver to unscrew the cabinet doors at the hinges, and remove knobs, pulls and other hardware while you're at it. Do the same with the drawer faces. Pro tip from the Spruce: Keep all the hardware and screws for each piece in separate bags or containers so you don't lose any important parts. Lowe's also suggested labeling the back of each door and drawer with painter's tape to make sure you reassemble them in the right places.
2. Clean the cabinet surfaces
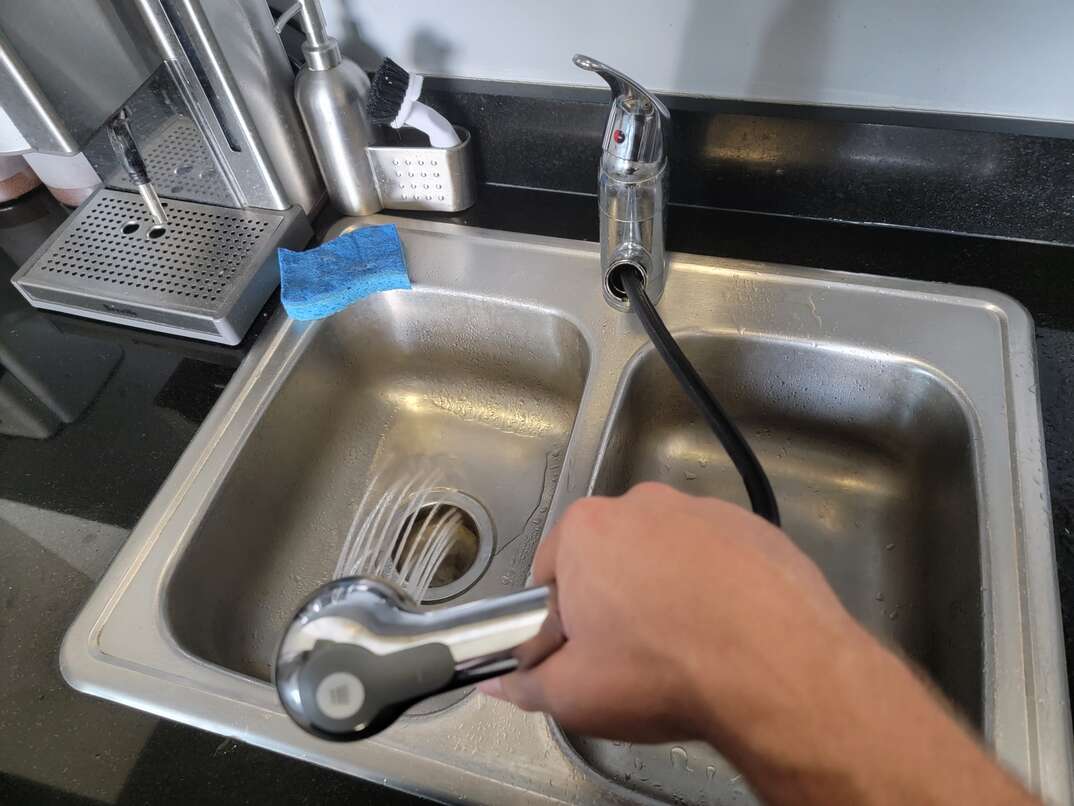
Wipe down all the doors, drawers and cabinet casings to remove grease and dirt from the surface. HGTV recommended a solution of water and trisodium phosphate, which you can buy at a hardware store, home center or paint supplier. Rinse the cabinets with clean water and then allow them to dry.
3. Protect the other surfaces
Cover countertops, appliances and floors to protect them from dust and paint. You may also want to place a strip of painter's tape along the wall next to the cabinet edges in case you go out of the lines.
4. Sand
Use medium grit sandpaper to scuff up the surfaces you want to paint. You can fold the sandpaper to get to detailed, rounded and contoured areas. This is to smooth out the surfaces and ensure the primer and paint stick. Once you're done sanding, use a vacuum and tack cloth to clean the dust.
5. Prime
Use a paintbrush or roller to apply the primer to all surfaces you plan to paint. Don't worry about being messy with the primer, as your goal is just to provide a better base for the paint. Let the primer dry completely before painting.
The paint
Now that it's time to paint, you can focus on long, even brush strokes in a top-to-bottom direction on the doors and drawers. Start with the back side and let it dry before flipping it over to paint the front. Don't worry about painting the sides and bottom of drawers, as the paint can cause them to get stuck on the frames, according to Lowe's. For the cabinet frames, you can use a brush for the smaller areas and a foam roller for the sides. After the first coat of paint dries, apply a second one for good measure.
The finish
Using your taped labels as guides, reassemble your cabinets, drawers and hardware. Now admire your handiwork!
Next up? Installing a new backsplash to match. If you're going for the full kitchen remodel, consider consulting interior design apps for some helpful inspiration and insight.
Being prepared for HVAC repairs is always a good strategy. See how plans from HomeServe can help with the costs of covered repairs.


