How to Remove a Ceiling Fan
Removing a Ceiling Fan at a Glance
- Tools and materials: ladder, screwdriver, wire dockers, wire strippers
- Step 1: Cut the power
- Step 2: Remove light kit and fan blades
- Step 3: Remove body and motor
- Step 4: Remove ceiling bracket
Not a fan of your fan? You’re likely spending a lot more time at home these days, and an ugly ceiling fan is not an eyesore you can ignore for long. Whether your ceiling fan is outdated in terms of style or function, taking it down is relatively easy.
This May Also Interest You: How Much Does It Cost to Install or Replace a Ceiling Fan?
Removing a ceiling fan can be a simple project, even for those who don’t consider themselves do-it-yourself types. Here’s a quick how-to.
What Tools Do I Need to Take Down a Ceiling Fan?
This project requires some very basic tools. The screwdriver is the most important; if you have one, a power screwdriver is an optimal tool. If you’re planning to replace your ceiling fan with another unit, you may need additional materials like wire nuts.
A few tools you may need:
- A ladder
- A Phillips-head screwdriver
- Wire dockers
- Wire strippers
How Do I Cut the Power to My Ceiling Fan?
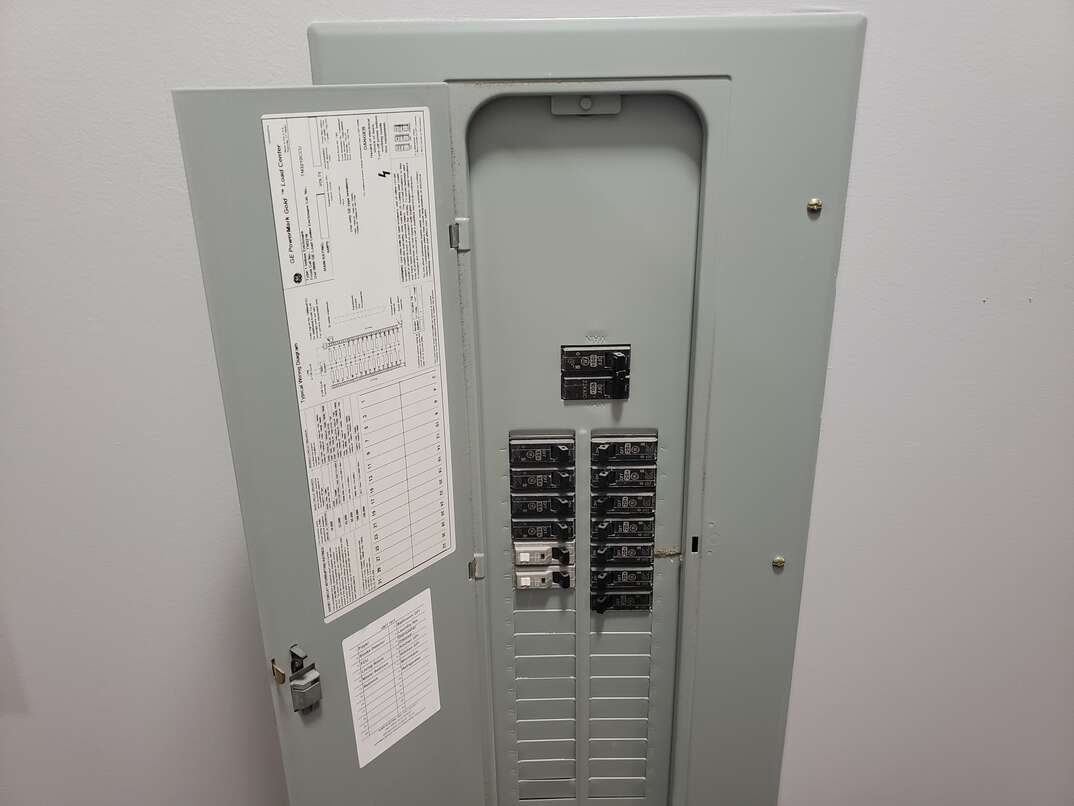
For safety reasons, you’ll want to go beyond just turning off the switch or knob on the wall. Be sure you cut the power to the circuit that serves your ceiling fan. This means turning the power off to the circuit at the breaker box. If your breaker box is appropriately labeled, you should be able to find the correct breaker quickly.
However, to be sure you’ve cut the power to the ceiling fan, follow a few steps:
1. From the controls on the wall or the remote, turn the fan or lights on.
2. At the breaker box, turn the appropriate breaker off. If you don’t know which it is, start turning smaller breakers off one at a time as you check to see if the ceiling fan is still on.
3. Once the ceiling fan turns off from the breaker, you have effectively cut the power to the circuit.
Breaking Down the Fan
With your ladder in place and your screwdriver in hand, you can begin to remove the components of your fan. The light kits that come with most ceiling fans can be removed (often unscrewed) by hand. Take that off first. Once you get to the fan blades, you'll need your screwdriver.
How Do I Remove Ceiling Fan Blades?
With the light fixture out of the way, you’ll have much easier access to the fan blade attachments. Depending on the configuration of your ceiling fan, the screws that hold the fan blades in place may be facing you or the ceiling. Use the screwdriver to remove the screws and each fan blade one at a time. Most fan blades will have two screws each.
Removing the Ceiling Fan Body and Motor
Ceiling fans come in two categories: downrod fans and flush-mount fans. As the name suggests, downrod fans suspend the main fan body at the end of a rod. Flush-mount fans have the main body and motor mounted close to the ceiling.
Removing Flush-Mount Ceiling Fan Bodies
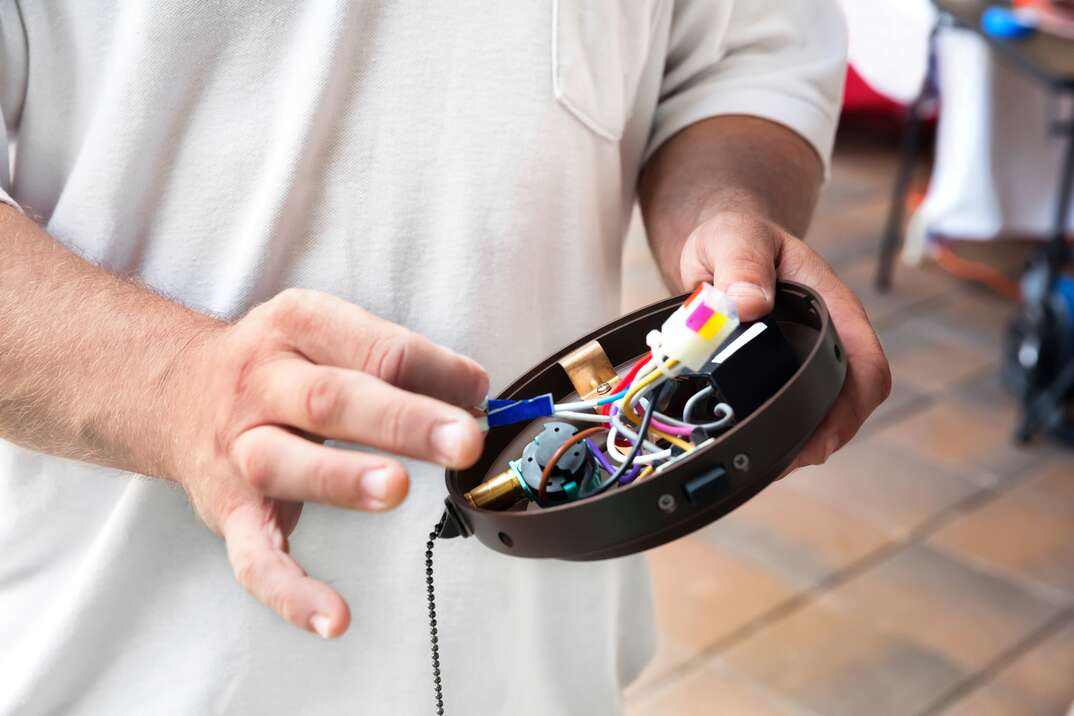
Flush-mount fans commonly use a screw and hinge to secure the fan motor to the ceiling bracket. Use your screwdriver to remove the screw and allow the fan to hang from the hinge. Find the wires from the ceiling that connect to the fan. Remove the plastic caps or wire nuts that connect these wires together, then separate the connections. Next, remove the fan body from the hinge and take it down.
More Related Articles:
- How to Install a Ceiling Fan
- As the Seasons Change, So Should the Direction of Your Ceiling Fan
- Best Outdoor Ceiling Fans
- What Size Air Conditioner Do I Need?
- Do You Need a Zoned HVAC System?
Removing Downrod Ceiling Fan Bodies
Downrod ceiling fans come with a metal cover that conceals the mounting bracket where the rod connects to the ceiling. These covers commonly use a screw to hold them in place. Some may have a decorative ring that covers the screw that will need to be removed by hand. With your screwdriver, remove the screw on the cover and slide the cover down to the bottom of the rod on the fan body. Follow the wires from the ceiling to where they connect with the fan’s wires. Remove the wire nuts and separate the wire connections.
There should be a ball on the ceiling end of the rod. Support the weight of the fan motor as you slide the ball out of the ceiling bracket.
Removing the Ceiling Bracket
Ceiling fan brackets are typically mounted to the junction boxes that house the wires for the unit. These brackets are usually held in place by a few Phillips-head screws that can be removed with your screwdriver.
At this point, you are ready to move forward with the replacement of a new ceiling fan or installing a light fixture. If you plan on selling the used fan, be sure to keep all the hardware together.
HomeServe is here to bring peace of mind to homeowners. Being prepared for unexpected home repairs with a plan from HomeServe is important. With a plan in place, you can simply call our 24/7 repair hotline for covered breakdowns. See what plans are available in your neighborhood.