How to Remove a Tile Floor

Removing a Tile Floor at a Glance
- Tools: Chisel, ball-peen hammer, pry bar, scraper; optional: power tools
- Step 1: Remove grout
- Step 2: Remove tile
- Step 3: Remove mortar
- Step 4: Remove underlayment
- Step 5: Inspect subfloor
If you’re installing a new tile floor in your kitchen or bathroom, you may be able to keep overall costs low by removing the existing tile yourself. Even if you don't see yourself as especially "handy," removing tile can be a simple DIY task.
This May Also Interest You: How Much Does It Cost to Install or Replace Tile?
Using the right tools and following a few simple steps, you can remove your tile floor properly with just some hard work and elbow grease. Read on to learn more.
How Difficult Is It to Remove Tile Flooring?
While it doesn't require a lot of skill, the physical labor involved in removing floor tile can be difficult. It can take hours to break apart the mortar base and release the tile from the underlayment, especially if you aren’t using any power tools. If your tiles were installed over plywood or cement rather than tar paper, you may have a slightly easier time removing the tiles. Regardless, prepare to dedicate a lot of time and energy to removing your flooring.
What Is the Best Tool for Removing Ceramic Tile?
The laborious process of removing tile is made much easier if you have the correct tools on hand. At a minimum, you'll need:
- Chisel
- Ball-peen hammer
- Pry bar
- Long-handled floor scraper
- Trash bin and trash bags
- Safety glasses
- Knee pads
- Dust masks
- Shop-Vac or other vacuum
The safety equipment listed is just as critical as the tools to ensure your protection throughout the removal process. Always wear the appropriate protective gear during repair or removal tasks.
What’s the Easiest Way to Remove Floor Tile?
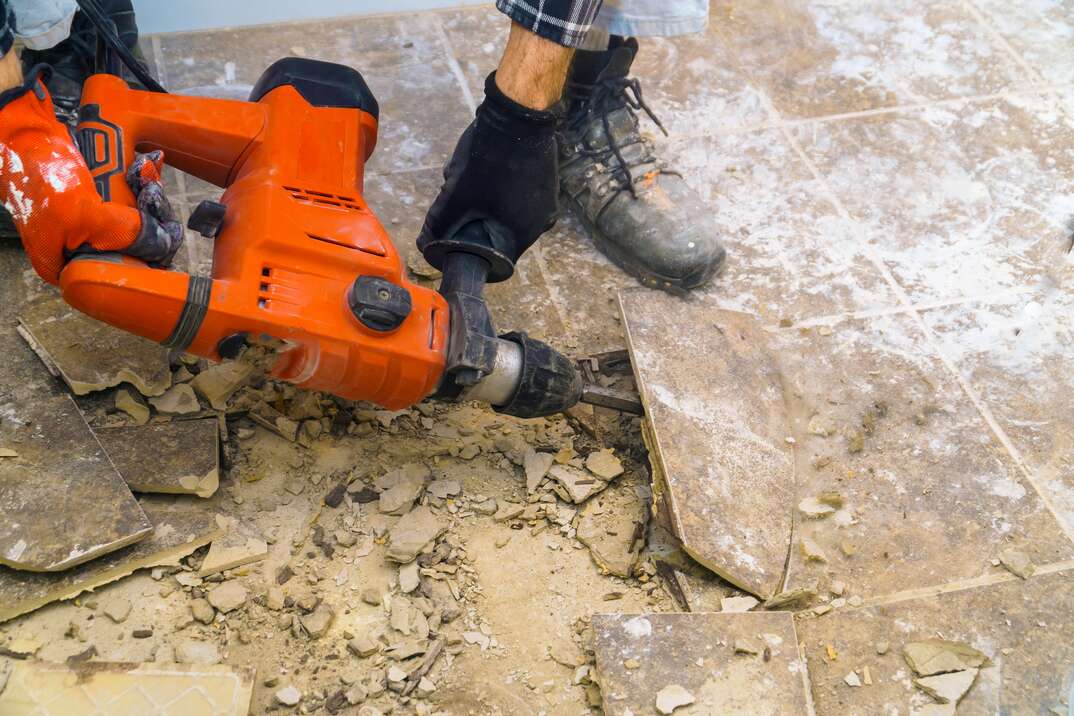
If you're working in a small space, it may be easier to use manual tools to remove the tile by hand. For larger rooms, you may consider using power tools to lessen the intensity of the physical labor. Useful power tools include:
- Oscillating tool
- Jackhammer
- Angle grinder
- Grout saw
- Rotary tool
- Circular saw
How to Remove Tile Floor
Now that you've got your tools together, you're ready to remove a tile floor. Here's a step-by-step breakdown:
1. Remove the Grout
The first step in removing a tile floor is to loosen the existing grout. If you're doing this manually, use a chisel and ball-peen hammer to tap the grout so you can remove it. For large spaces like a living room, you may want to use a grout saw or rotary tool to cut deep and remove the grout.
2. Vacuum Up the Debris
Once you've chipped away the grout, get your trash bag to clean up the debris. You may need to use a vacuum to get the area ready for the next step in the tile removal process.
3. Remove the Tile
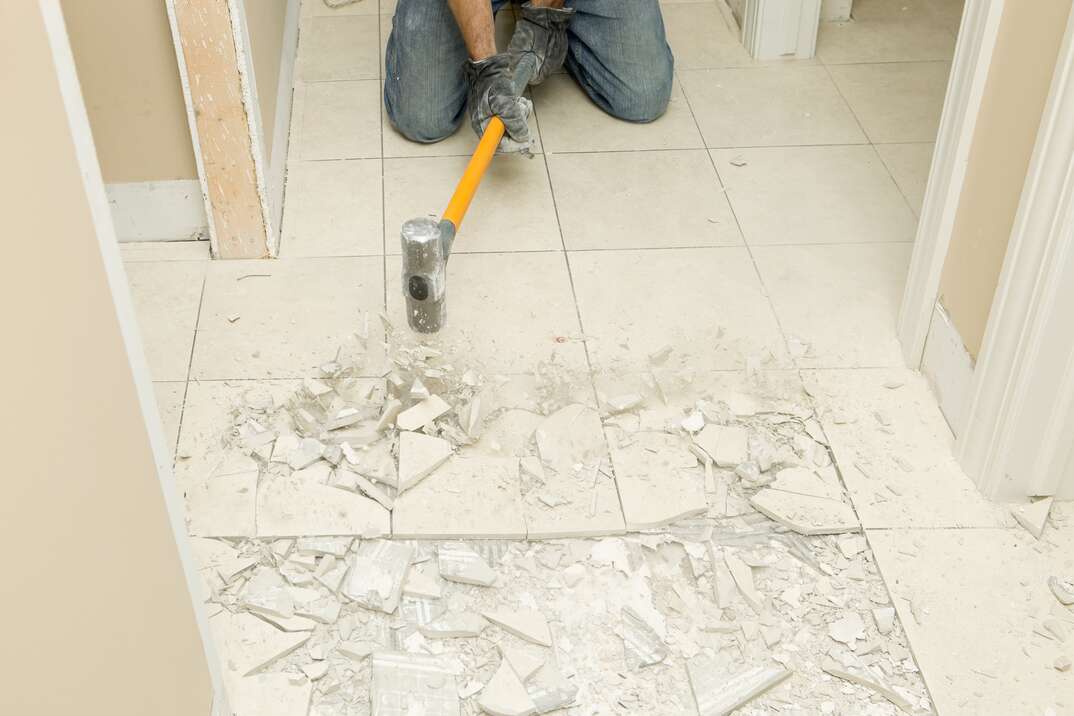
Begin separating the tile from the mortar underneath. If you're lucky, you'll be able to use a pry bar to lift the tile straight off. Most of the time, however, it won't come away so easily.
In that case, lay your chisel diagonally across the tile and strike it with a hammer. Repeat on the other diagonal to break the tile apart. Use your long-handled floor scraper to get the stubborn tile pieces away from the mortar. You may want to put on a dust mask for protection.
More Related Articles:
- Tale of the Tile: An Overview of Bathroom Tile Flooring
- How Much Does It Cost to Refinish Hardwood Floors?
- Don’t Get Cold Feet! Everything You Need to Know About Radiant Floor Heating
- Everything You Need to Know About Terrazzo
- How Much Does Bamboo Flooring Cost?
4. Clean Up Tile Debris
Clean up the debris by placing large pieces in a garbage bag or bin. Any tiny pieces left lying around can be vacuumed up.
5. Remove the Mortar
Next, you'll want to remove as much of the mortar as you can. Mortar is the substance that holds the tiles to the floor. Using a hammer and chisel, you can chip away at the mortar manually. Removing the mortar leaves a clean slate for a new layer of thin-set when you're ready to install new tile.
6. Remove the Underlayment
If your tile floor was laid on underlayment, you'll want to cut through that underlayment along with the mortar to get to the subfloor. Plywood underlayment or cement board can make the process easier, as your subfloor is likely to be in good condition.
7. Evaluate the Subfloor
Once you've reached the subfloor, evaluate its condition. An even, undamaged subfloor is critical for laying new tile flooring. Check if any part of the subfloor is uneven, water damaged, or squeaking when you stand on it. If you need to remove and replace parts of the subfloor due to damage, use a circular saw to cut into the floor and then pry it up using your pry bar.
If there is serious damage to the subfloor, call a professional contractor to come in and fix it so you can start with a proper base before installing new tile.
Since we’re all home now more than ever, being prepared for unexpected home repairs with a plan from HomeServe is important. Having a plan in place gives you peace of mind knowing that you can simply call our 24/7 repair hotline for covered breakdowns. See what plans are available in your neighborhood.


