How to Replace a Light Switch

Light switches are something you use everyday to illuminate your home. But when one stops working and leaves you in the dark, it quickly becomes an inconvenience.
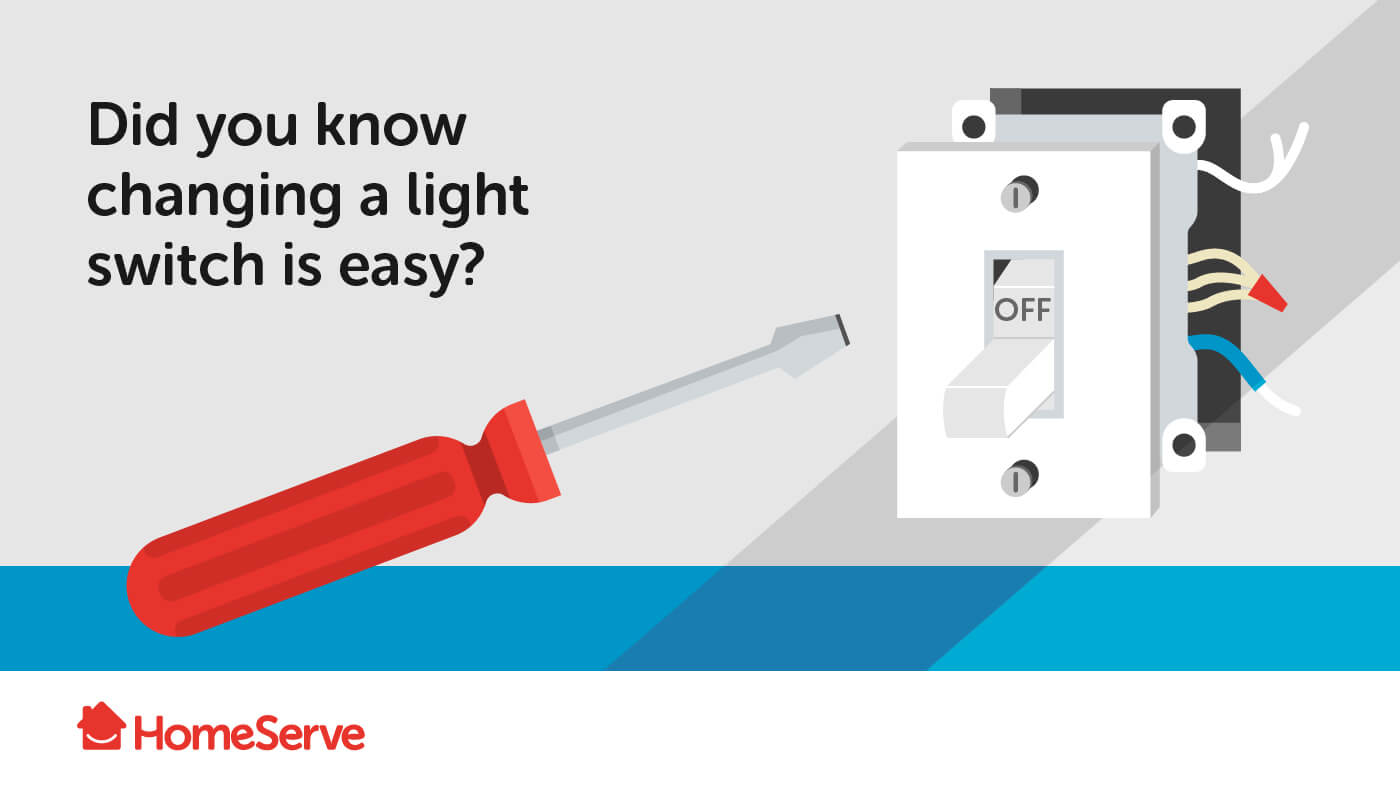
Luckily, replacing or upgrading a standard toggle switch is an easy and affordable DIY project. When you’re prepared with some wiring knowledge and take the proper safety steps, you can troubleshoot and repair electrical problems like a pro.
Here’s everything you need to know about how to replace a light switch:

Safety first
It’s always important to take safety precautions before working with electricity. First and foremost, before getting started you should shut off the electrical power to your entire house. To do this, you will need to locate the main electrical panel and flip the main circuit breakers at the top off.
When replacing an outlet receptacle or light switch it’s possible to turn off an individual circuit. Labeling your breakers can help make this process easier, but The Balance recommended turning off the main breaker when you are uncertain of which branch circuit is which.

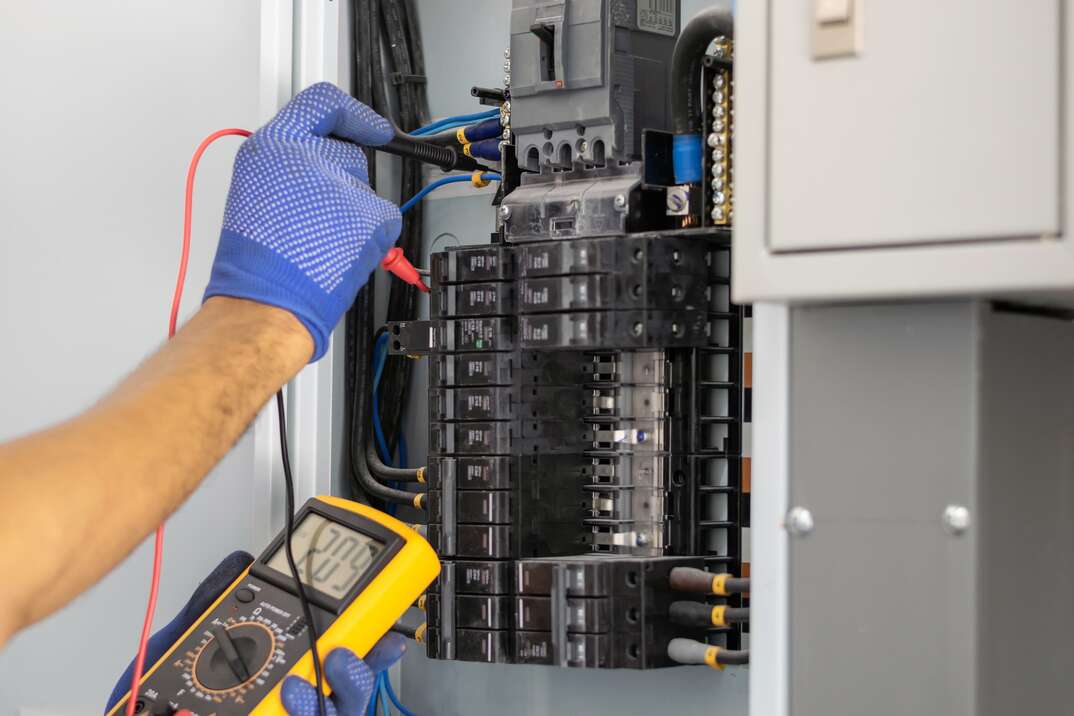
Then, you should always test for powers in the wires and switch you will be working on. Use a non-contact voltage tester to test for an electrical current before touching anything. You may also want to consider wearing insulated rubber gloves while working with wires and never, ever work with electricity around water or with wet hands.
If you need a refresher on other important safety tips for DIY electrical repairs, check out this helpful video.
Troubleshoot the problem
A faulty light switch can be as simple as replacing a switch or be an indicator of a larger electrical problem. To get to the root of the issue, most homeowners with a little knowledge of their home’s electrical system can do some investigative work to identify the cause of a faulty switch.
First, make sure there’s no issue with the light fixture itself or any other outlets or switches in that room. A flickering or busted light bulb might mean you need to replace or upgrade it. However, if the power in an entire room or home is out, your circuit breaker may have tripped or a fuse may have blown.
It’s also important to understand other electrical components in your household. For instance, if you have ground fault circuit interrupter outlets that detect hazardous occurrences, they can automatically turn off electrical flow to prevent injury. You may need to reset them to power your plugged in appliances.
Once you identify that the switch is the problem, you will need to check if it’s receiving power. To do this, Home Tips explained you need to remove the switch’s cover plate and touch a non-contact electrical connector against both screw terminals. The device will signal if the wire is charged. You can also use a neon tester, being careful not to touch the bare wire ends or terminal screw, and attach one probe to the hot wire and another to the bare neutral wire or terminal or grounded conductor. The tester will light up if the circuit is live.
How to safely replace a bad light switch
There are many different types of light switches, but the most common are single-pole. Unlike a three-way switch or four-way switch, you control only one fixture from a single switch. A single-pole can also be used as a dimmer switch, to control the intensity of the lighting.
Once you’ve troubleshooted the problem and turned off the main power, follow these steps for how to replace a light switch:
Remove the old switch
1. Remove the cover plate
Use a standard screwdriver to loosen the screws that hold the plate to the wall. Keep these materials nearby, as you’ll need to reattach them after installing the new switch.
2. Remove the switch
After testing once more that the wire is not live, unscrew the screws holding the switch in place and pull it away from the wall. The wires will still be attached to the switch, so ensure you remember their placement for reassembly. Taking a picture can be helpful!
3. Disconnect the wires
Loosen the terminal screw that connects the wires and the switch should be free to remove entirely. Keep wires separate by bending them in opposite directions.
Replace with a new switch
1. Connect the switch
This is the most important part of the process. According to DIY Network, you will most likely be faced with a red or black hot wire, white neutral wire and ground wire that may be bare copper or insulated in green electrical tape. Ensure the wires are not frayed or use a wire stripper to trim and refresh them to meet your needs.
Attach the new light switch in the same way you had disassembled them. Pro tip: If your wires are solid copper, create a loop in the end of the wire with needle nose pliers and guide it around the edge of the screw on the side of the switch so it’s secure.
2. Push the switch into the electrical box
Place the newly wired switch in the electrical box, where it should fit snugly, and screw it into place.
3. Replace the switch cover plate
Use a screwdriver to tighten the screws and cover plate. This could also be the opportunity to change the cover plate if you want to replace the original with a different color, finish or decorative design.
4. Turn the power back on
Switch the individual circuit or main breaker to the “on” position.
5. Test your work
Flip the standard toggle switch on, and let there be light!
If the switch still isn’t working or you run into issues that are beyond your electrical knowledge, call a professional electrician for help. Electrical and wiring repairs can be serious, don't perform DIY work that you’re not entirely comfortable with or prepared for.
Being prepared before home repair issues arise is always a good strategy. See how plans from HomeServe can help with the costs of covered repairs.