How to Tile a Shower in 7 Steps
Tiling a Shower at a Glance
- Step 1: Remove existing surround
- Step 2: Install backer board
- Step 3: Prepare tile pattern
- Step 4: Add mortar
- Step 5: Set tile
- Step 6: Apply grout
- Step 7: Seal grout
Let’s be real: A fiberglass or acrylic shower surround doesn’t exactly scream modern. These days, a prefab surround looks a bit outdated — especially if it’s chipped, peeling, mildewy or some odd color that feels very specific to the previous homeowner’s taste.
This May Also Interest You: How Much Does It Cost to Install a Tile Shower?
If this is your bathroom’s current situation, it might be time for a change. You’re probably tired of using a shower that doesn’t fit the design you want. And if those walls could talk, they’d likely be whispering “Pssst … will ya upgrade me, already? Please?”
You may feel ready to take the proverbial plunge and upgrade to a tiled shower, but you might also be wondering whether this is a project you can tackle yourself. The short answer (and your walls would agree) is yes. You’ll just need to make sure you have access to some tiling-specific tools and perhaps a second pair of hands to help you haul that old surround out of your bathroom for good.
Below, you’ll find the steps necessary to take your shower from drab to fab in about a weekend’s worth of work.
Step 1: Tear Out the Existing Surround
Before you can start the fun work of tiling a shower, you’ve got to get the space ready. Whether you have glued-on fiberglass, acrylic shower panels or old tile, you’ll need to strip the walls to the studs. No matter what kind of surround currently exists in your shower alcove, take extra care here not to damage the wall. Remember to remove the faucet trim, tub spout and showerhead before you start the removal process. Also, it’s a good idea to cover the bathtub with a drop cloth to ensure that dust and debris stay out of the tub and drain.
Once the existing material has been removed, inspect the wall and check to make sure that the studs are still in good shape. Understandably, the area around a shower can sometimes get wet. So, look here for signs of mold or rot. If you spot some dark or soft spots on the stud, go ahead and call a pro and get their opinion before you proceed.
Step 2: Install the Backer Board
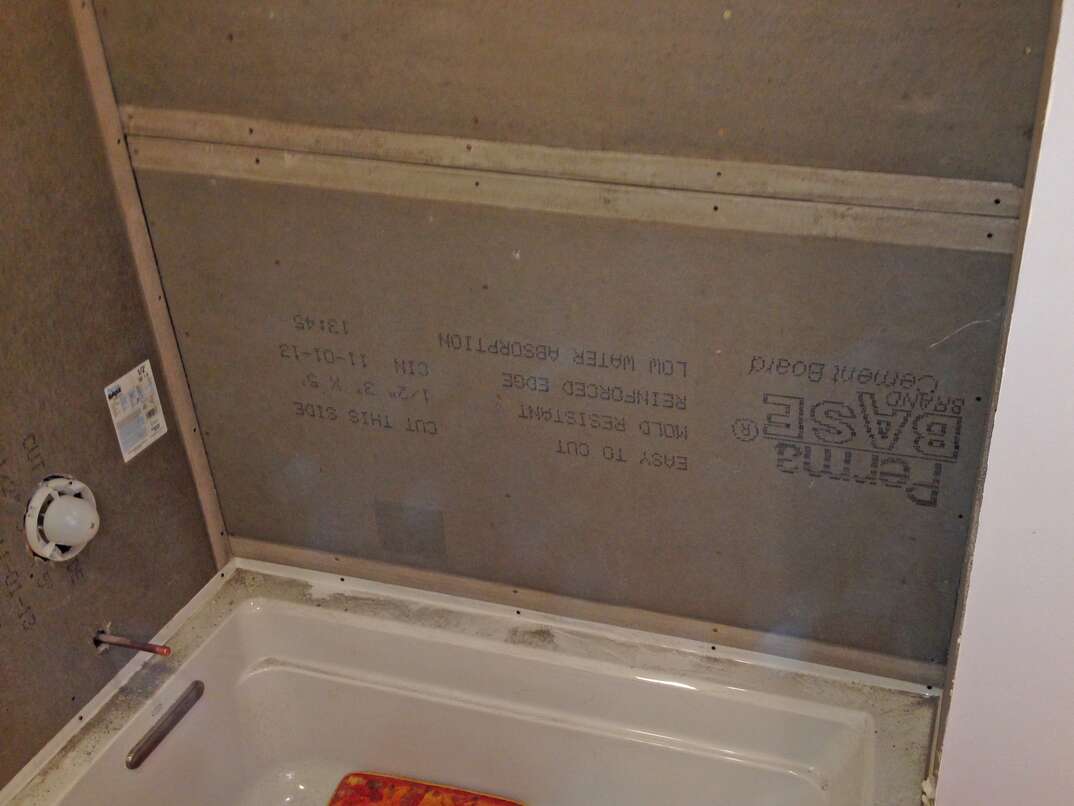
Once the walls of your shower alcove have been stripped down to the studs, you can begin installing the cement backer board that the tile will adhere to.
First, create a rough layout for the backer board, remembering that you’ll want to make as few cuts as possible. In other words, find out where you can use full sheets, then use a jigsaw to cut around the tub spout and the showerhead. Once you have a rough idea of the backer board layout, start by screwing a full sheet of backer board to the wall. Be sure to use 1-¼-inch cement board screws for this. Screw them flush to the surface of the board, but take care not to drive them through the surface, as this could cause the material to break or crack. When the boards are in place, use drywall tape to tape the joints between the boards.
Before moving on, you’ll want to make sure that the backer board is protected from moisture by installing a waterproof membrane. Most of the time, the waterproof membrane comes as a thin sheet of polyethylene plastic. However, it's far easier to use a liquid compound that's painted right onto the backer board. Either way, you probably don’t want to skip this step, especially since cement board retains moisture, and this can lead to some behind-the-scenes damage in the long run.
Step 3: Prepare Your Tile Pattern
While the act of laying tile might be a relatively simple task, you should always remember to create a tile layout before you fix it to the surface. While tile pattern comes down largely to aesthetic choices (read: “you do you”), it’s always a safe bet to make sure the tile is symmetrical and centered. And while it can’t always happen, it’s ideal to have your grout joints the same width all the way around. Keep in mind that your ceiling might not be perfectly level, so you may need to cut the pieces of tile at the top. That way, you can adjust your tile thickness to match the ceiling.
Step 4: Mortar the Wall
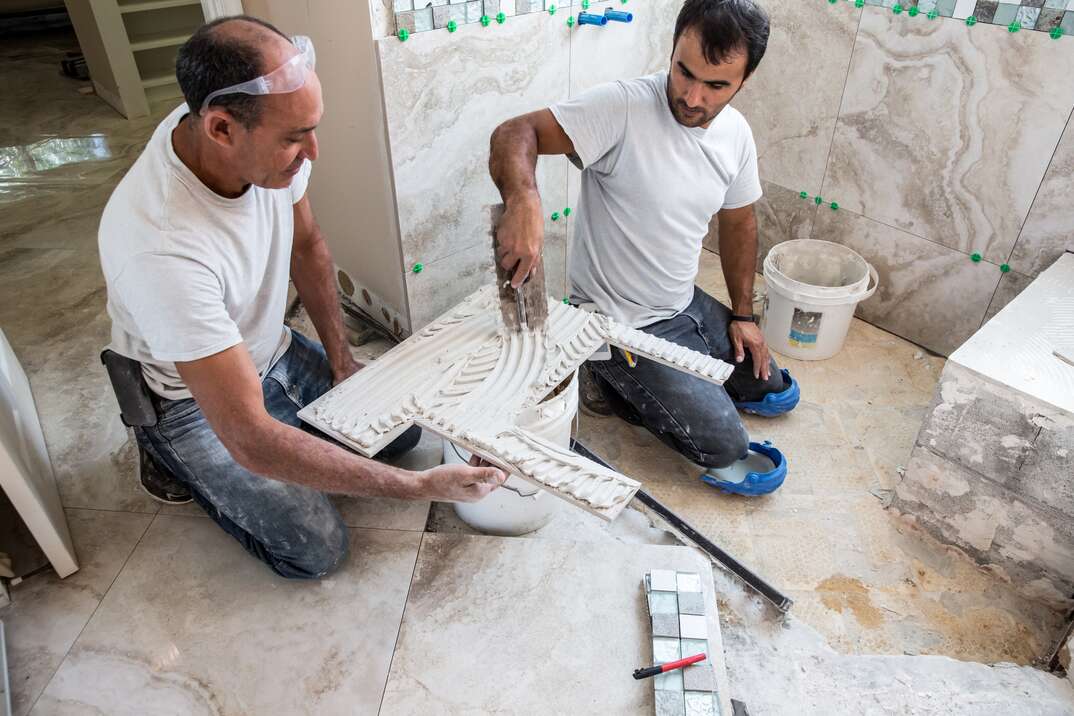
Mix up a small amount of thin-set mortar adhesive. Take care here to mix the mortar according to the manufacturer's instructions. In most cases, you want the mortar to have the consistency of toothpaste. Only spread enough adhesive for a small section of tile. It’s important to mix and spread a small amount at a time; you don’t want your mortar drying before you place your tile on it.
After spreading the mortar, use a notched trowel to texture it. The notches will help grab the tile and ensure that it stays in place. Make sure that you’re using the correct size trowel. All tile makers recommend a specific notch size, so if all else fails, check the packaging for the recommendation.
More Related Articles:
- How to Clean Shower Tiles
- Making it Rain: How Much Does It Cost to Install a Shower?
- How to Install Shower Doors: A Step-by-Step Guide
- How Much Does a Shower Remodel Cost?
- How to Replace a Showerhead
Step 5: Set the Tile
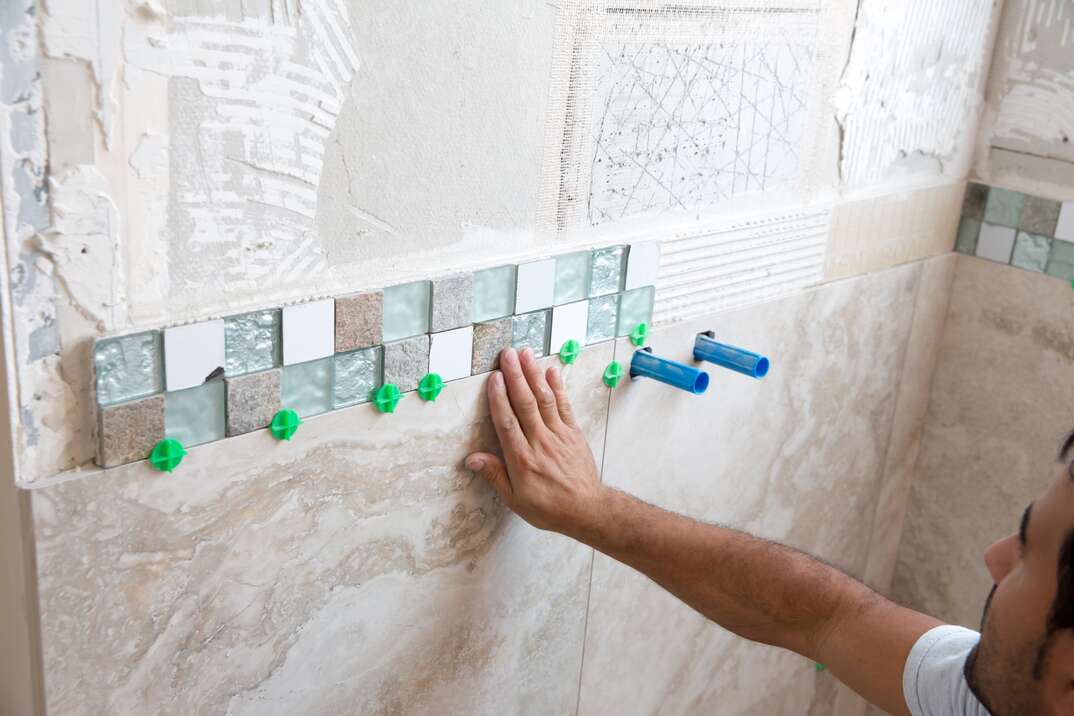
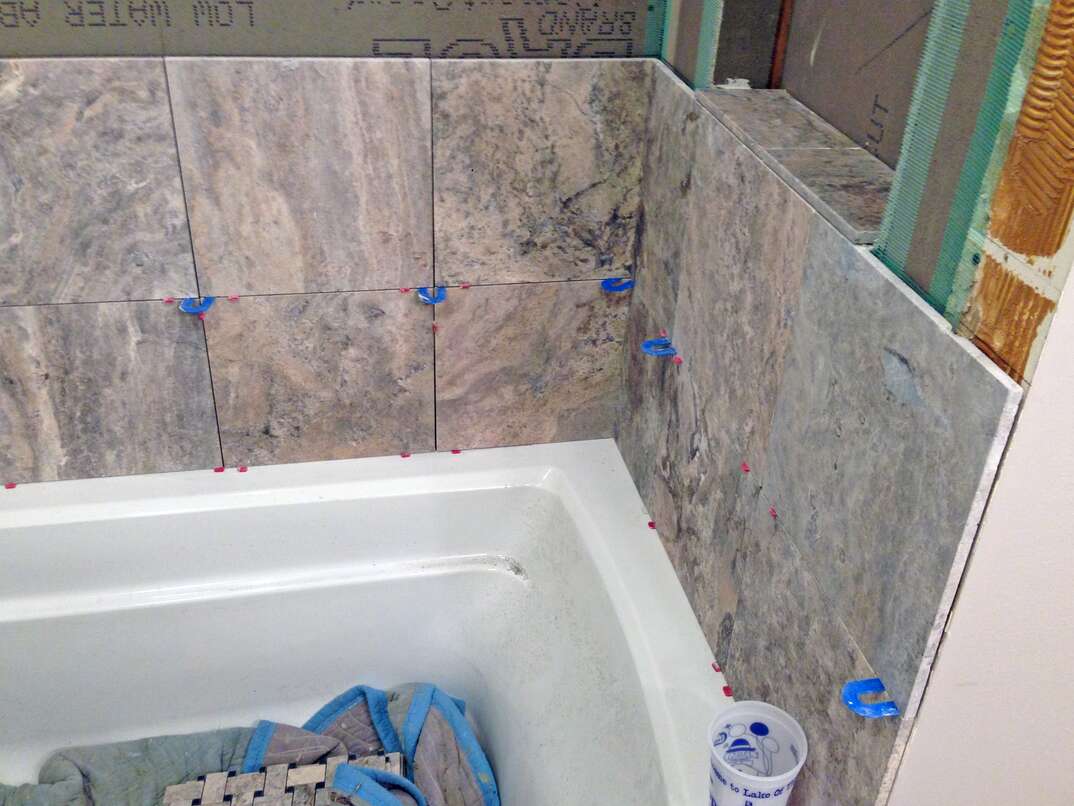
After spreading a small amount of mortar on the backer board, you can push your first piece of tile into the mortar. Feels good, doesn’t it? As you continue to set the tile, periodically check that everything is level and spaced evenly. Use tile spacers between each tile to ensure consistency throughout your project. Be careful to leave a ¼-inch expansion gap after the bottom row of tile.
As you near the corners and edges of your shower, you’ll inevitably end up needing to cut tile to fit. Cutting tile can be tricky, but there are two main methods. One way is to use a tile cutter, which scores the length of the tile, then clip the tile on the line. Note that one downside to this technique is that tile cutters can be difficult to use and may cause your tiles to crack. The other method for cutting tile is to use a wet saw. You can rent a wet saw from any equipment rental company or a hardware store. While a wet saw will give you more accurate cuts, depending on the size of your tiling project, it might be more trouble than it’s worth.
Step 6: Get Groovy With the Grout
After you’ve let the thin-set mortar dry for approximately 24 hours and your spacers have been removed, you’re ready to apply the grout. Tile manufacturers recommend certain types of grout for their products. When in doubt, always read the packaging. While it might be a little more expensive, use premixed grout for optimal results. This ensures that the product has been mixed correctly. It’ll also save you time by allowing you to work without having to stop to mix grout.
Grout comes in a large variety of colors, so pick one that completes the look you’re going for. Using a rubber grout float, work the grout into the spaces between tiles. Start at the bottom and work your way up. While it’ll be tricky at first, after a few swipes of the grout float, you’ll be a grouting pro.
After you’ve filled the spaces in a section of your shower, let the grout dry for about 10 minutes. Then, wipe the grout off of the surface of the tiles with a sponge and clean water. The grout should come off the tiles fairly easily, but some areas might be more stubborn than others, especially if they’ve gotten too dry. After you’ve sponged the entire project, use a grout haze remover to clean the surfaces. Depending on the amount of haze, it might take several applications to get your tile looking shiny again.
Step 7: Seal the Grout
You’ll need to wait at least 48 hours for the grout to dry and cure completely. Then, take a close look at your grout lines and check for any cracking or chipping. Take this time to touch up any spots that look like they need work. But remember, if you add more grout, you’ll need to wait another 48 hours before you can move on to sealing.
Sealers come in a variety of different types, all depending on the type of tile you’re using and the location of your project (bathtub sealer is different from floor sealer, for instance). Be sure to check the label before purchasing to see what sealers work best for your specific tile and how well they can tolerate moisture. Most sealers dry in a few hours, but it’s best to let the sealer cure for about 24 hours before using your shower.
Time to enjoy your newly tiled shower. While setting tile can be tricky — and a bit messy — at times, the finished product can be quite rewarding. Trust us: Your walls will thank you.
You can complete your shower tile project on your own without having to call for professional help, but some unexpected home repairs are best left to the pros. In those cases, it's best to be prepared with a plan from HomeServe. Once you have a plan in place and a covered issue arises, you can simply call our 24/7 repair hotline. See what plans are available where you live.
