How to install a Dishwasher like a DIY professional
No one's happy when the dishwasher is out of commission - mostly because it means picking up the slack with handwashing. If your dishwasher is suffering from problems that require more than a quick repair, you may want to consider purchasing a new one. Handy homeowners can save on the cost to install a dishwasher by completing the project on their own.
Follow these dishwasher installation steps to get your new machine running in no time:
1. Prepare for the project
Once you have your new dishwasher, you'll want to read the manufacturer's instructions for specific directions, such as the location of the power supply and drainage lines. From there, you can further prep for the installation by turning off the power to the dishwasher on the main circuit breaker and switching the shutoff valves under the sink to temporarily turn off the water. Note: If at any time you feel that this project is above your DIY expertise, feel free to call a professional to help with install.
If there aren't existing holes from a previous dishwasher, you'll need to use a power drill and hole saw to cut an opening in the cabinet wall to feed the electric wires, supply lines and drain tube through. This Old House recommended placing the hole 3 inches above the floor and 2 inches in from the back wall.
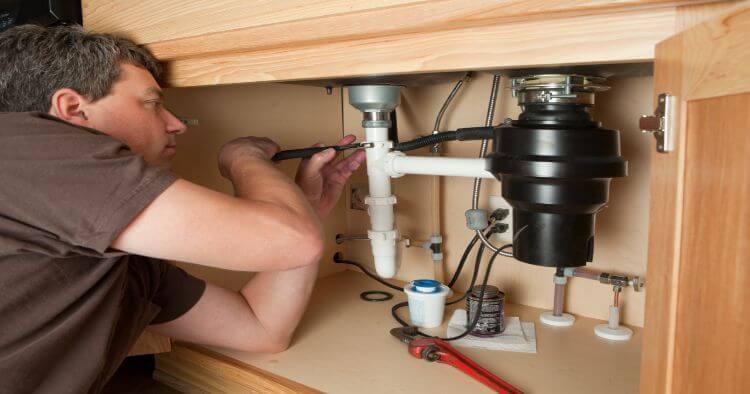
2. Connect water supply line
Thread the water supply line through the hole into the cabinet under the sink, and then attach it to the hot water valve outlet. To attach it to the dishwasher, install the compression elbow onto the water inlet. Carefully bend the supply line so you can attach it to the elbow, and then use an adjustable wrench to make a secure connection.
3. Install the drain pipe
If there is an existing drain piece under the sink from your previous dishwasher, attach the new drain pipe to this piece. Otherwise, install a new tailpiece before attaching the drain pipe. Secure the drain pipe to the cabinet wall behind the dishwasher using plumber's strapping. Place the pipe in an arch shape that sits higher than the drain inlet to avoid future backups. Some building codes may also require you to attach an air gap to the supply line to further prevent backups. Use a screwdriver to attach the strapping to the wall and secure the pipe in place.
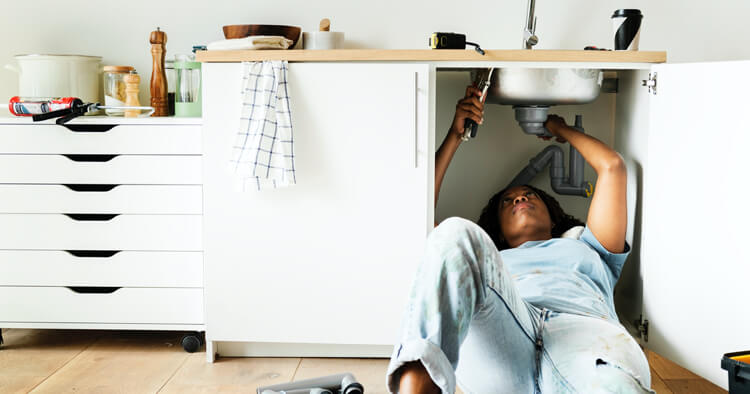
4. Attach the electrical wires
To give the dishwasher power, run the electrical wires into the unit's electrical box. Match up the black and white wires to the same colored wires on the dishwasher using an electrical wire nut to tighten them together. Next, attach the ground wire to the ground screw on the dishwasher electrical box. Bunch the wires into the electric box and screw on the cover plate.
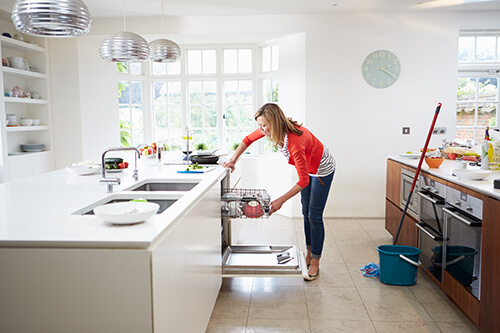
5. Position dishwasher
Slide the dishwasher into its designated space under the counter, adjusting the feet at the front of the unit with a wrench until it fits snugly. Open the dishwasher door, and place a level on the top of dishwasher. Keep adjusting the feet until the entire machine is level. Next, secure the dishwasher to the counter by tightening screws into the mounting brackets.
Turn the power and water back on, and keep an eye out for leaks. If there are no leaks in the first few hours after installation, you're ready to relinquish your hand-washing duties and let your dishwasher resume its job. Follow proper dishwasher maintenance to make sure it keeps running efficiently.
Being prepared before home repair issues arise is always a good strategy. Plans from HomeServe can help with the costs of covered repairs. See what plans are available in your area.