How to install a Garbage Disposal on your own
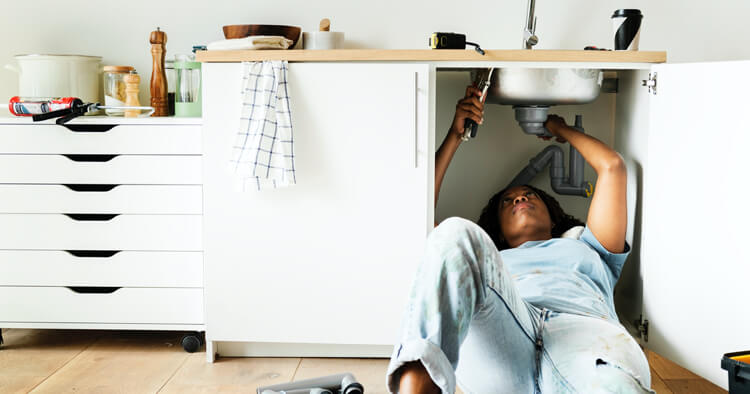
After 8 to 15 years, the quality of a garbage disposal begins to wane. And so you may be wondering, can I install a garbage disposal myself? Homeowners who enjoy a good DIY project can do it on their own. Fortunately, replacing or installing a garbage disposal isn't that hard, even if you haven't done much plumbing work. (Though who hasn’t tackled a clogged drain or spent some time drain cleaning?)

If you possess solid problem-solving skills and some basic plumbing knowledge, you can complete the process successfully. While it’s always recommended to call in a plumbing professional, you may be ready to do this on your own. Here are some step-by-step installation instructions.
Gather your tools
When it's time to replace the garbage disposal, pick a day for the project. Then, do your prep work. Visit your local hardware store and speak with a salesperson. They can offer you additional tips and tricks. While you are there, if you are missing any necessary tools, this is a good time to pick them up. The job typically requires:
- A hammer
- A screwdriver
- A PVC pipe cutter
- Plumber's putty
Some homeowners want to purchase a septic system-friendly disposer unit (that can also “play nice” with the sewer lines.) So, this is a great opportunity to discuss the various makes and models on the market as well as their safety with a knowledgeable salesperson. The size, the motor and its volume are factors to consider. Whether you have a single sink or double sink plays a role, too. Also, find out if the unit you are interested in comes with a wiring kit.
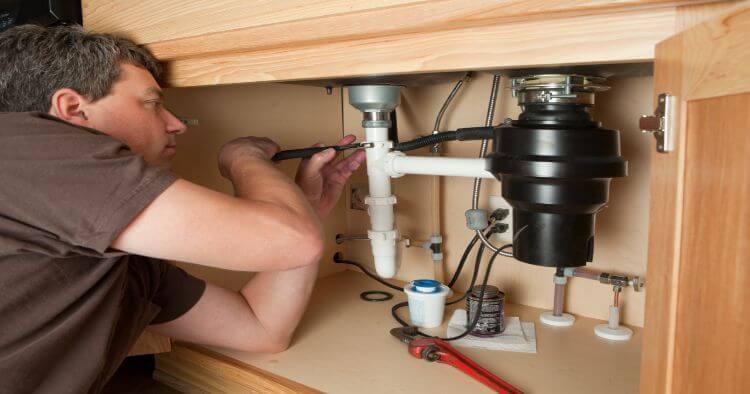
Step 1: Remove the existing disposal and all its parts
To begin the disposal installation, you need to remove the existing unit. Safety first: Before you begin, make sure to disconnect the old unit and ensure that the electricity is off. You also need to remove any components that attach to the old unit. Be sure to place a pan beneath the sink. The pan can catch any water or lingering food waste that drips out of the attachments and sink drain. (Like that nasty gunk that comes from the build-up of past clogged drains.) It is also a good idea to have a towel handy when drain cleaning.
Step 2: Prepare the installation
To prepare the unit for installation, check the new sink flange. If it is pre-assembled, loosen the snap ring and the fasteners.
Step 3: Apply the plumber putty
Next, apply the plumber putty to the flange gasket or rubber gasket. The putty is important because it acts as a seal, which helps extend the gasket's life. Roll the putty into a snake shape that goes around the entire gasket. The putty should measure about three-eighths of an inch in diameter. Then, press down on the putty as if it were a pie crust.
Step 4: Clean the area
Before you begin to attach any of the components, be sure that the area is clean, including cleaning the drain and making sure the sink opening is clean as well. The drain opening is going to be sealed, so you do not want any food waste or particles caught underneath the plumber putty. That could create an environment for mold or bacteria growth, which is not ideal.
Step 5: Attach the fastening system
Now, you are going to attach the fastening system. The flange goes on top of the side of the sink. You must apply pressure to the flange so that it remains in place. This gives you the opportunity to securely fasten the part underneath. There should be putty spilling out from the sides. Once the flange is fastened, clean the excess putty.
Step 6: Attach the mounting plate
After the putty has been cleaned up, place the mounting plate on the underside of the sink. As you secure the plate and tighten the mounting screws, remember not to fasten them too tightly.
Step 7: Secure the tailpipe
Next, secure the tailpipe to the side of the unit. Secure it to the rubber seal with a metal spring ring or metal bracket.
Step 8: Remove the breakout plate
Some homeowners have a dishwasher and garbage disposal unit installed in their kitchen. If this is your case, you need to decide how you are going to drain the dishwasher. Some people choose to drain the dishwasher through the disposal unit. This means that the breakout plate needs to be removed. Remove the plate from the inlet port by using your screwdriver and hammer. Otherwise, leave the breakout plate in its place.
Step 9: Connect the wiring
When you purchased your new garbage disposal, it either came with a wiring kit or didn't. If one was not included, you needed to purchase it as an extra. This is the time to bring it out.
If your disposer unit did not include a power cord, you must purchase this as well. Be sure that its power rating is compatible with your unit. If it is not compatible, you risk tripping a circuit breaker.
When plugged in, the cord must be long enough to reach the receptor without remaining stretched out.
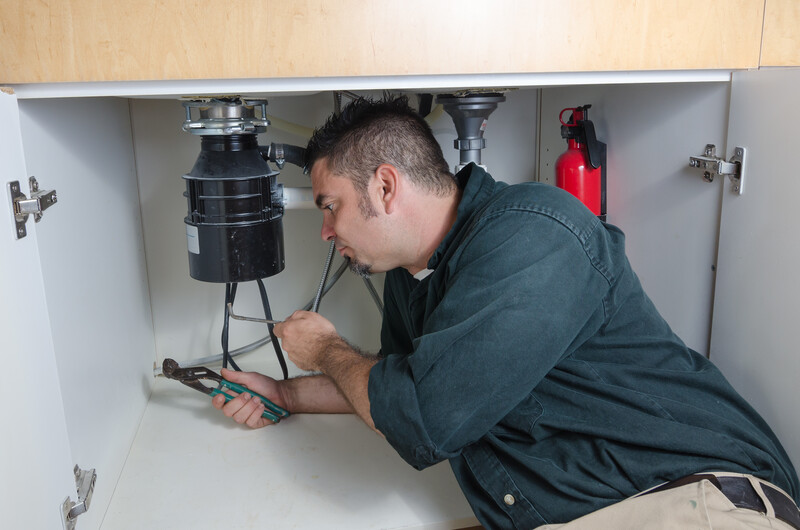
Step 10: Attach the disposer unit
As you attach the disposer unit, ensure that the rings are lining up correctly. The rubber seal ring must line up with the flange. Go ahead and press it into place. One option is to loosely secure the lower mounting ring with the upper through the ramp tabs. You will need to rotate the parts so that the assembly aligns correctly. If you need help, use a heavy object to press down on the components on top of the drain opening.
Step 11: Connect the disposer to the P-Trap
When you connect the disposer to the P-trap, you may need to cut down the PVC extender pipe. Measure the part so that you trim only what is necessary. Then, you can attach the two components.
Step 12: Secure the unit
You are now ready to make the final alignments. At this point, the drain cleaning is complete and the drain is assembled. The lower mounting ring should be lined up with the three mounting tabs. Then, the three mounting tabs should be locked up with the ridges of the slide-up ramps. Secure the ridges and mounting tabs with your screwdriver.
Step 13: Double-Check the unit
Finally, it is time to test the garbage disposal. You will know that the unit is secure and working if there are no leaks. Plug the sink and fill it with water. The seal should be doing its job. Remove the stopper and check for leaks in the P-trap. The discharge pipe and discharge tube should be good to go.
A plan from HomeServe is a good way to be prepared for pricey repairs. With a plan in place, you can call the 24/7 repair hotline and a local, licensed and expert plumber will be dispatched as soon as possible to get the job done to your satisfaction. See what plans are available in your area.