Need to Vent? Here's How to Install a Dryer Vent
Dryer Vent Installation at a Glance
- Step 1: Plan ventilation route
- Step 2: Drill pilot hole
- Step 3: Bore vent hole
- Step 4: Attach vent cap
- Step 5: Construct duct
- Step 6: Install duct
Dryers make your laundry routine more convenient, but waiting a long time for your clothes to dry can become a real irritation. Installing a dryer vent can significantly reduce how long it takes to dry your clothes and prevent lint from building up. Fortunately, dryer vent installation is straightforward enough to do yourself with a little know-how.
This May Also Interest You: How Much Does It Cost to Install a Dryer Vent?
Here, you can find step-by-step instructions for how to install a dryer vent and tips for safe dryer vent installation.
Does a Dryer Have to Be Vented Outside?
Whether you need to vent your dryer inside or outside depends on the power source. Electric dryers can be vented inside, making them a good choice for renters and people without a suitable external opening in their home.
If you have a gas-powered dryer, you'll need to vent it outside. Gas dryers produce carbon monoxide as a byproduct, so venting them indoors is extremely dangerous. You can also vent an electric dryer outside if you prefer.
Can a Dryer Vent Go Straight Out?
You can install a dryer vent straight out of an external wall if your house structure and dryer location allow that. It's generally preferable to do so. Venting a dryer straight out of the wall means that there won't be any bends in the vent pipe and allows you to keep the pipe as short as possible. The benefit of this is that it reduces the likelihood of the vent becoming blocked.
How Do You Install a Dryer Vent?
Installing a dryer vent is a one-day project if you have some level of DIY knowledge. Before you begin dryer vent installation, it's important to plan the project so that you keep the ventilation route as short and straight as possible. The instructions below explain how to install a metal dryer vent in a wood, brick or stucco exterior wall.
Step 1: Find a Suitable Ventilation Route
Decide where to install the vent based on the dryer's location and your home's structure. Ideally, you should vent the dryer straight out of the nearest exterior wall. If bends are unavoidable, make sure you account for the extra length when you purchase your duct.
Step 2: Drill the Pilot Hole
Starting at the middle of the rim joist where you want to install your vent, drill a pilot hole. Go outside to check that the area around the exterior wall is free from any items that might obstruct the dryer vent.
Next, go back inside and hold the vent cap up against the joist so that the top of the cap aligns with the top of the siding. If the pilot hole doesn't line up with the center of the vent cap, mark the new center position on the joist.
Step 3: Bore the Vent Hole
Start by boring a hole for the vent in the siding using a drill and a 4.25-inch hole saw. Once you've removed the circular piece of siding, continue drilling through the rim joist until you have a clear channel to the outside. You'll need to allow the drill to cool down frequently and clear any sawdust and debris from the hole and drill as you work.
If you have a stucco or brick exterior wall, you'll need to use a hammer drill to create holes around the edge of your intended opening. Use a chisel to cut the brick or stucco away and remove any stucco mesh. You can then use a 4.25-inch hole saw to cut through the wood frame behind.
More Related Articles:
- Here’s How to Change the Direction the Door Swings on Your Washer and Dryer
- How to Move Your Clothes Dryer
- Should You Repair or Replace Your Clothing Dryer?
- How to Clean a Washing Machine Drain
- How to Move Your Washing Machine
Step 4: Attach the Vent Cap
Drill pilot holes on the exterior wall and then screw on the vent and cap. If you have vinyl siding, you'll need to install a mounting block first. Apply acrylic caulk around the edge of the vent to fill any gaps.
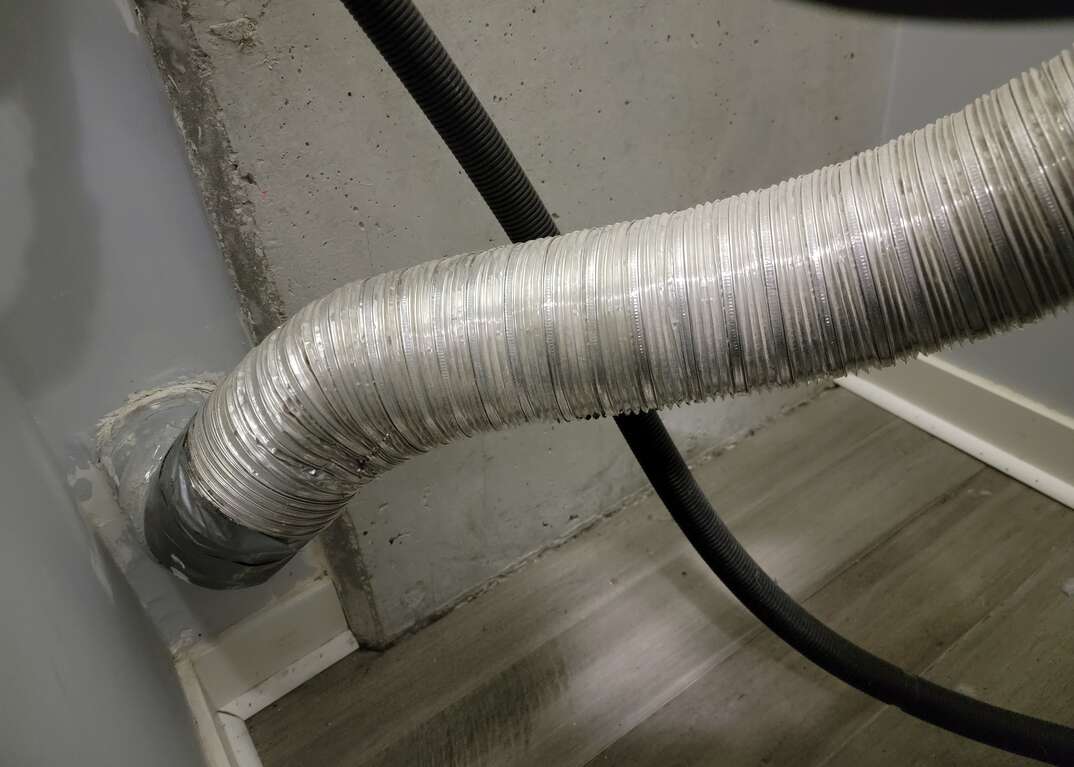
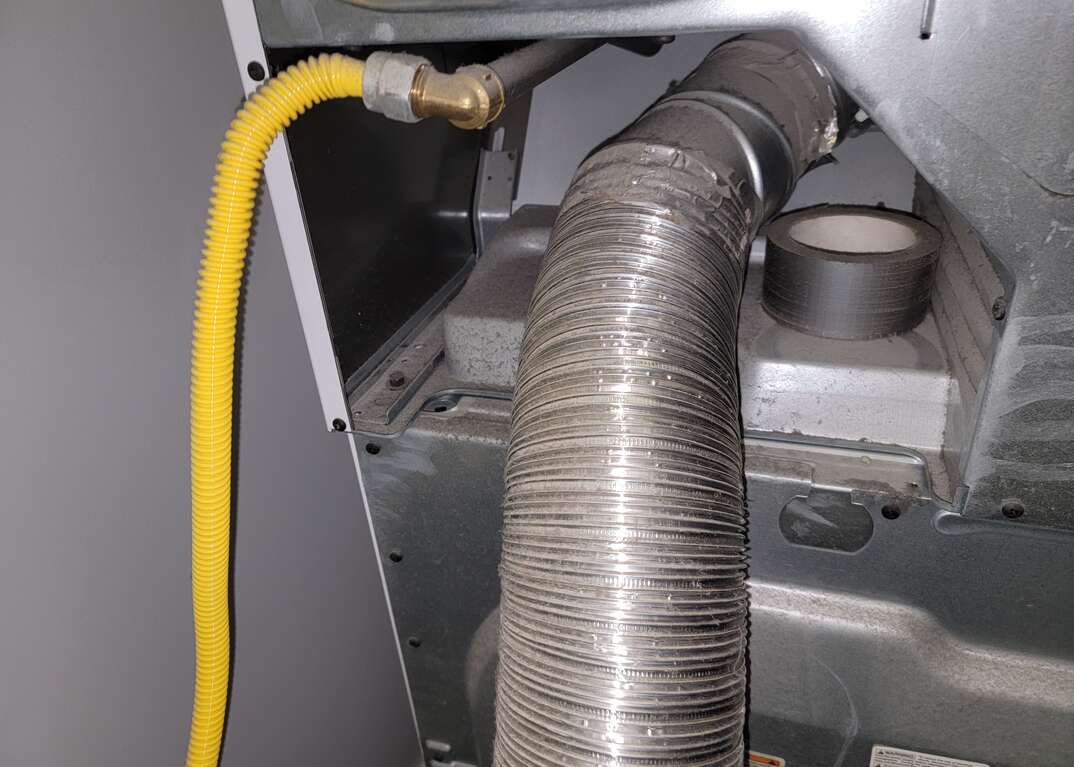
Step 5: Construct the Duct
Measure and cut the straight sections of duct pipe using tin snips, taking care not to cut yourself on the edges. Close any seams between sections by pushing them firmly together. Insert any necessary 90-degree elbow joints crimped end first, and tape the joins securely with foil tape.
Step 6: Install the Duct
Working from the dryer first, attach the duct to the dryer exhaust port, then move the appliance to its final position. Position the duct pipes and tape the other end into the wall vent using foil tape. Unless you're venting the dryer straight out the wall, you should fix it in position by installing pipe straps every few feet.
You can now run the dryer to make sure everything's working correctly. Go outside to check that you can see the flap moving as air escapes.
Can I Use PVC for a Dryer Vent?
You can buy PVC dryer vents that are generally cheaper than metal dryer vents. However, they're not as durable and tend to attract lint, so you'll need to clean them more often. They're also not as safe as metal ducts because they can get bent, which could stop air from escaping freely and cause a fire hazard. Overall, it's best to choose a metal dryer duct if you have the budget available.