How to Move Your Clothes Dryer
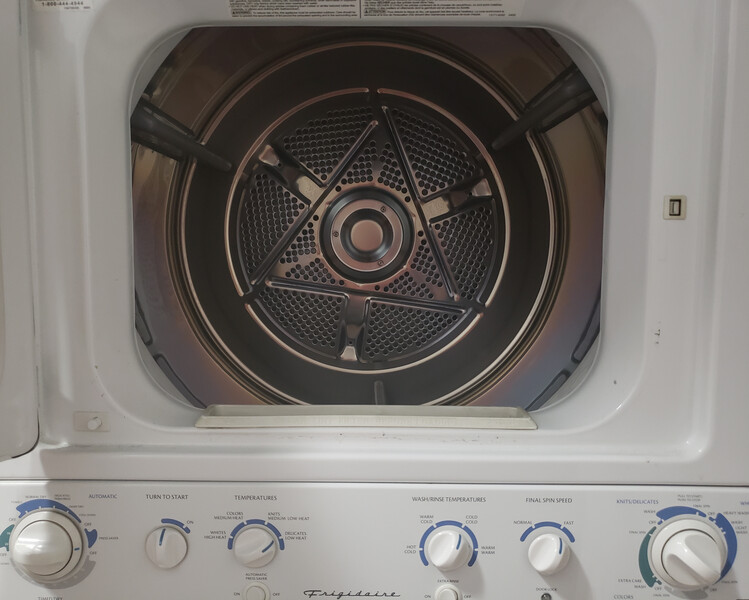
Moving Your Clothes Dryer at a Glance
- Tools & Materials: Moving straps, appliance dolly, pliers
- Step 1: Clean dryer
- Step 2: Disconnect power
- Step 3: Disconnect vent
- Step 4: Protect for transport
- Step 5: Move onto dolly
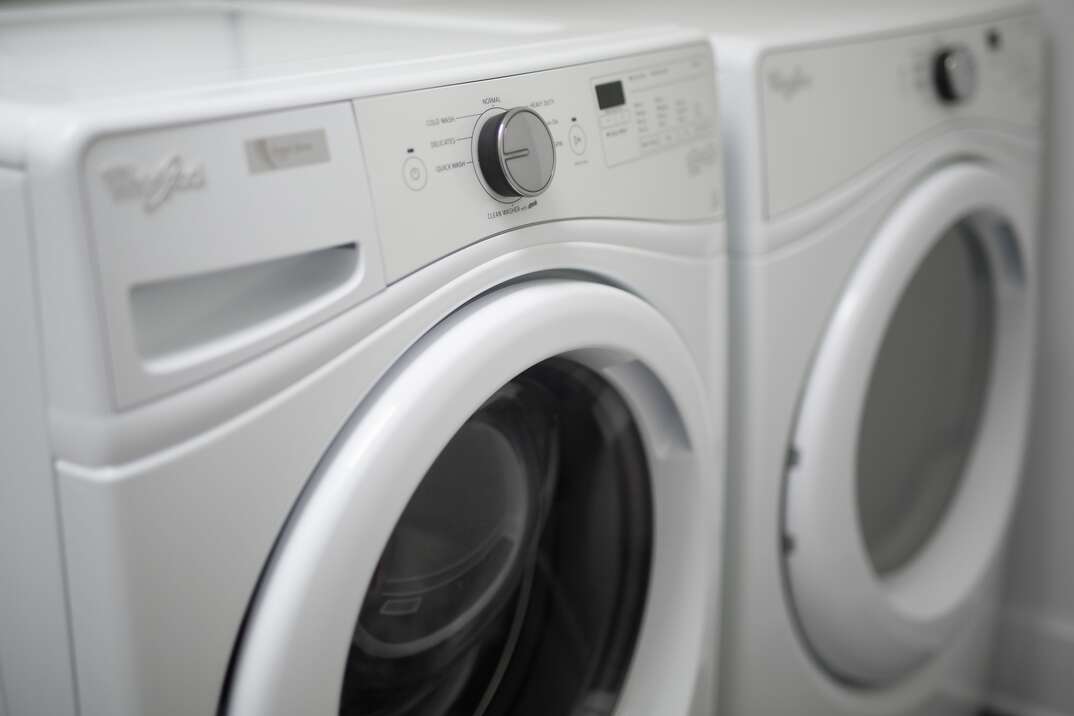
If you’re moving to a new place or remodeling the laundry room, there’s a good chance you’ll need to move the clothes dryer. It’s certainly no easy task; there are specific steps you'll need to take when moving such a heavy appliance. Certain precautions should be put in place for your own safety and to keep your dryer from getting damaged.
This May Also Interest You: We Gotta Move These Refrigerators: A Step-by-Step Guide to Moving Your Fridge
We highly recommended you have a friend on hand to help you move your dryer. You will want an extra hand for support and in case of an emergency. Having someone else around to assist you will help the process run more smoothly.
Tools You’ll Need
The right tools can make a world of difference when moving a clothes dryer. You can use things like moving straps, an appliance dolly and pliers.
Steps to Move Your Clothes Dryer
Step 1: Clean the Dryer
You probably want your dryer to be relatively clean when moving it into a new space, so you should clean it beforehand. This helps prevent bad smells and also improves its efficiency. To clean a dryer, just take out the lint trap and remove any lint currently on it. You can use a vacuum or brush to clean it out thoroughly.
Step 2: Disconnect It From Power
Before doing anything else with the dryer, you should disconnect it from its power source for your safety. If the dryer is powered by electricity, go to the fuse box and switch off the dryer switch. Once that’s done, you can just unplug the dryer. On the other hand, if the dryer runs on gas, first turn off the gas valve. Then, disconnect the gas line that’s connected to it.
The dryer should have a specific spot for storing the cords. Place the objects in this space so there aren’t any loose things hanging around. You don’t want any tripping hazards when moving heavy equipment around, and you also don’t want to lose them.
Step 3: Disconnect the Dryer Vent
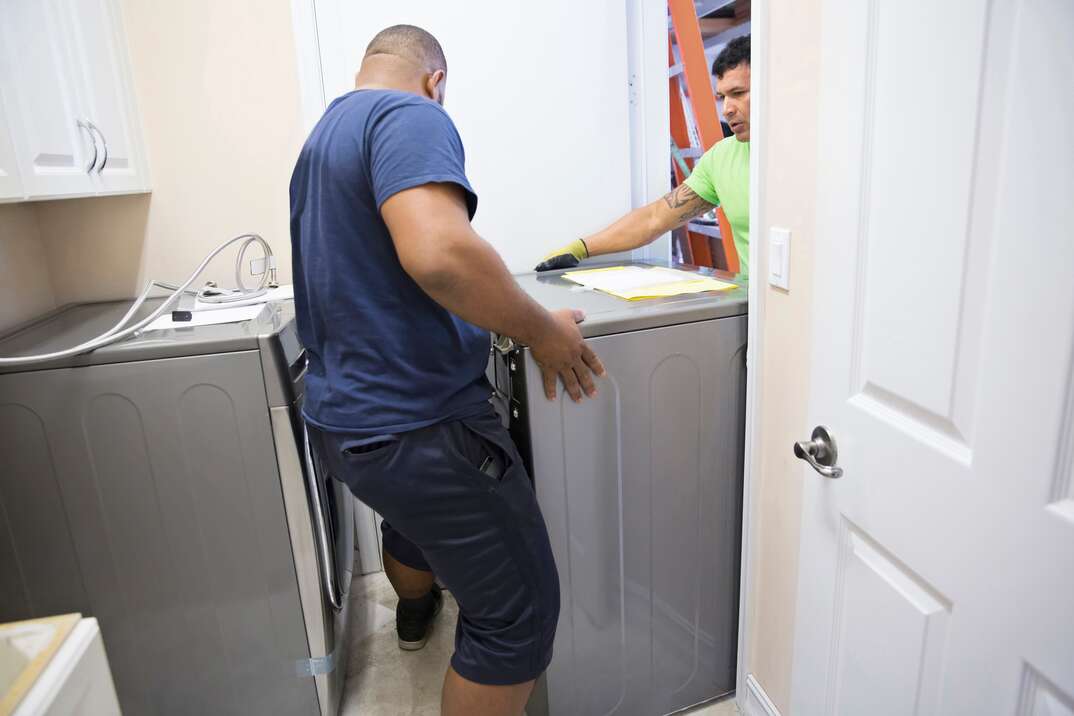
The dryer vent is the aluminum foil tube that connects your dryer to the wall and is responsible for carrying the moist air away from the dryer. Once all the previous steps have been completed, you can safely remove the dryer vent. Since it’s not always in the most accessible position, you may need to move the dryer a bit to get to it. Remove the vent and place it somewhere secure so it doesn’t get damaged.
More Related Articles:
- Should You Repair or Replace Your Clothing Dryer?
- How to Clean Your Dryer Vent
- Your Guide to Dryer Repair Costs
- The Pros and Cons of Stackable Washer and Dryers
- What to Do If Your Dryer Won’t Spin
Step 4: Add Protection
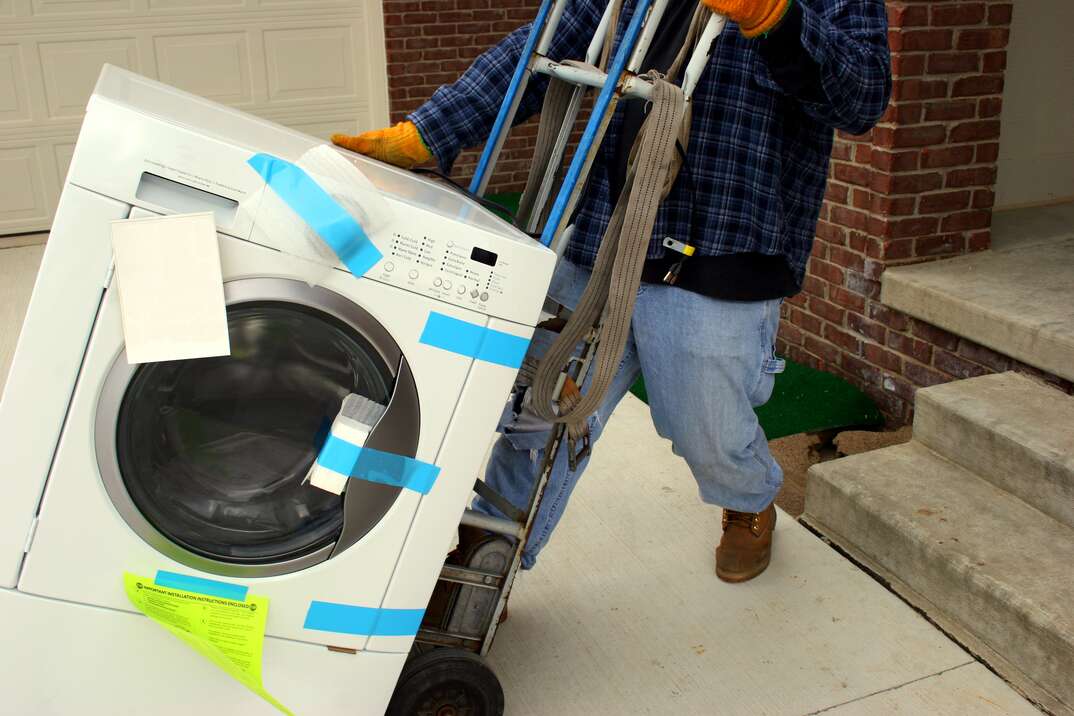
To prevent the dryer door from opening while it’s being transported, tape it shut with duct tape. This helps protect your door from damage as well as other things around it. To prevent scratches or other damage, wrap your dryer with a moving blanket.
Step 5: Move the Dryer Onto an Appliance Dolly
After all parts of the dryer have been removed and things are put in place to protect it, you’re now ready to load it onto the dolly. To move the dryer onto the appliance dolly, tip the dryer backward while your partner slides the dolly below the dryer. Once it’s on the dolly, secure it by using moving straps or a rope. This should also help keep the moving blanket in place.
